Showing posts with label DIY. Show all posts

Sunday, April 5, 2015

It's Coming to Life!!

Week Four...check out the progress!!!


YESSSSSSSSSSSSSSSSSSS.


The floor went in.  I was sitting in my office eavesdropping (ahem, working) while the contractor and his guy were discussing my reclaimed wood, and how best to install it.  Apparently reclaimed wood flooring is a pain in the ass to install.  If you're thinking of using it because it's cheaper, think again.  It's really not.  The initial cost may be (I paid $2.00 per sq. foot), but there's a lot of labor involved that brings the overall cost right back up.  The  benefits you get from reclaimed wood are that you keep it out of the landfill, and if you're putting it next to already aged flooring, you'll be able to get a better match for a consistent look.  Boards change color when they age- putting one stain color on new vs. old boards can look vastly different.  It's kind of like borrowing your best friend's  most prized red lipstick- the one that looks so glamorous and old Hollywood on her, but looks like a cheap trick in the making on you.  Get it?

We ran out of useable "old" wood slats and had to use a few square feet of "new" wood.
No worries, it's under the fridge, and once sanded and stained, you won't even notice it!

So what makes reclaimed wood a pain for those installing it?  For starters, some of the tongues are missing- they were either broken off or cut out when the planks were removed from their previous home.  They were also previously refinished, so there are small pieces of filler stuck to the sides, which can prevent the boards from being installed flush/tightly to each other.  This means extra work for the installers, and once installed, the floors still need to be sanded down and refinished again.  It's pretty labor intensive, so what you save on materials, you more than make up for in labor costs.  I've made my peace with it, though- I feel an obligation to this old house to treat her well.  (Are you kind of surprised I'm not married to an 80 year old man with how much I profess to love old things?  Dave is 353 days older than me...I think that counts, right?)

My original hardwoods run in two different directions: Dining room to the left,
and living room to the right.
The kitchen hardwoods have been installed, but haven't yet been sanded and stained in this picture.

(You may also be asking yourself, "Why didn't you just feather in the new flooring with the existing flooring so that you didn't have a threshold between the doorways"?  Well, friends, my hardwoods extend past the living room, though the hallway, and into two bedrooms as one continuous piece.  If I had feathered in the floors, I would have had to remove ALL OF MY FURNITURE from the first floor in order to sand and refinish EVERYTHING.  Not happening.  Also, we just refinished the hardwoods eight years ago when we moved in- they're in great shape!)

Refinished kitchen floors on top, existing living room floors on bottom.
Pretty damn close, right?!?
They turned out GREAT, didn't they??

Dave has caught me many times this weekend just standing in the doorway staring at the floors.
"You know they aren't going to change in front of your eyes," he says.
Yes, but they are JUST. SO. AMAZING.


The cabinets have also been installed...yay!!  My inspiration picture had simple shaker style cabinets, but I opted for an even simpler flat black cabinet panel.  I really love the juxtaposition of modern elements mixed with vintage, so I'm pairing a more modern, streamlined cabinet front with brass and wood.  I think the "older" elements will help to tone down the more modern cabinet shape.  Also, I've always got that dreaded term "resale value" stuck in the back of my head.  This is our first home, and although we love it, we know that it isn't our forever home.  While the design pros will always tell you that white cabinets are best for resale, I think that if someone doesn't love my taste, they can easily change out the countertops and cabinet hardware to create a completely different look.  Plus, since these cabinets are already painted and not stained, I don't think anyone would feel too badly if they just wanted to paint them again in a different color.  I've really thought this through and made the best of excuses to justify black cabinets, haven't I?!?

Not much to see here...YET.
Just a lonely little vacuum attachment trying to keep things in order around here.


This coming week, the countertops, tile, and finishing touches should go in...the end is in sight!!

Thursday, March 12, 2015

I Have No Kitchen.


Well, it only took 4 hours on a Saturday morning for my kitchen to go kaput.  Minutes before hammer met wall, I began to feel a bit guilty about what was about to happen.  Someone built a kitchen that has lasted for almost 70 years, and here I was, about to destroy it.  It might not have been functional for modern day living, but it WAS solid.


Look at the inside of those cupboards...I will miss that pop of teal blue.
Miss Mamie was a color rockstar when she lived here.

The hesitation was short lived, though.  Dreams of a dishwasher and actual counter space becoming reality trumped any guilt I felt about destroying someone else's work.

And just like that...


...my kitchen disappeared.

When Dave came home to an empty room that afternoon, his first response was, "This place stinks".  He's right.  Uncovering wood and insulation that hasn't seen the light of day in 66 years doesn't smell like roses.  It smells....old.  I'm just waiting for the smell of new wood, fresh paint, and wet varnish to fill our nostrils with the pleasant aroma of toxic cell killing freshness.  It'll come soon enough. Till then, we breathe deeply to inhale what are most likely asbestos and lead particles.  (Don't worry, Mom...the dust was properly contained and removed during demo- I'm just making jokes.  Promise.)

So what surprises has this house revealed thus far? 

1.  Wires hidden behind one cabinet bulkhead that need to be moved.
I forgot to snap a picture of the wires before they were moved.  Whoopsie.
Instead, you get more holes and future range hood draft ducting.
Bonus? If you look closely, you can see remnants of all of that glorious
mid-century metal mesh that holds the horsehair cement and plaster to the walls.
Old houses are where it's at, yo.

2.  Pipe hidden behind a second bulkhead that needs to be moved.

Well, umm, once again, my contractor was too quick,
 and got to the pipe before I had a chance to take a picture.
At least I know he's doing his job, right?

3.  Wallpaper!

You'll have to pretend you're in a drug induced haze while looking at this picture.
The only strip of wallpaper that was left was stuck behind molding that was ripped off,
only to be promptly covered over with plastic to contain the dust.
I can't even gain access to the kitchen without asking permission,
so fat chance I was going to get a clear picture just for you all!!


4.  The kitchen wall cutout (not original to the house) was never properly supported by a header.  My closet is directly above this wall.  Could it have caved way at some point?  Maybe.  Wouldn't that have been an absolute mess?!

The ceiling was bowed about 3/8" in the center...yikes.


Whew...all better.
Notice something else that's now missing, though?
The ceiling.  Had to make a sacrifice to get all of my new lights wired in.

Next up?  Finishing the non pretty stuff...electrical, plumbing, and mechanical work.  Snooze fest.  Wake me up when the cabinets arrive.

Thursday, February 26, 2015

Sorry, Not Sorry...to see you go (and other passive-aggressive titles)

Hey you guys!!  It's finally happening...the Great Kitchen Renovation of 2015!!  I can't even BEGIN to tell you how excited I am to say goodbye to my current kitchen.  Before demolition begins next week, let's take a (very short) tour of my (very small) kitchen, shall we?

There's a small window each day when my sink doesn't look like this.
It's elusive, and hard to catch.  Consider yourself lucky if you've ever  seen the
bottom of the sink.

There are many things about this kitchen that just drive me BATTY.  At the top of the list?  No dishwasher.  Unless you count this guy:

Christmas Card 2014 Outtake.  He's alllll mine, ladies.  Back off.
(What a good sport he is, right?)


Right up there with the lack of a dishwasher?  This stove:

Why is it so BIG?
(The Office has forever ruined us with, "That's what she said," jokes, hasn't it?)

It's huge...40 inches of mammoth hunk o' electric metal.  This beast is being replaced by a beautiful gas convection slide in range with 5, count 'em, FIVE burners.  Dave is very excited about this fifth burner.  Whatever floats your kitchen boat, babe.

Next on my list of annoyances is my lack of useable counter space.  This is all I've got.  Twenty seven and a half inches.  TWENTY SEVEN AND A HALF INCHES.  Let's move on.

White, on white, on white?  This kitchen delivers.


Oh, this guy?

Despite the small stature of this fridge,
an amazing amount of food still manages to get lost in the back of it.

Yeah, he's an apartment sized gem.  Can't replace him without ripping out all of the cabinets on this wall, though- they're one continuous built in piece. 

We've already discussed the flooring issues in my last post, but let's see a quick picture for old time's sake, shall we?


Absolutely disgusting.  I am embarrassed.  Completely embarrassed.


Hasta la vista, baby.  You're getting the boot.


RIP: 1949-2015

See ya!


Up next?  New layout plans!!

Thursday, February 5, 2015

Peeling Back the Layers: Part Deux

We're starting the one month countdown to the kitchen renovation- it's finally happening and I can't wait!!  And because I can't wait, I started some DIY demo this week while Dave was out of town.  At least this time I was kind enough to give him a heads up (as well as tell him how lucky he was that his wife just saved some dough on demo costs).  I'm nice like that.


Yes, I consider DIY to be therapy.  Potato, potahto.
Notice the absence of questions on Dave's end, and my ignoring
of his response.  We're such a good team.


So who remembers when I started picking apart the floor behind the fridge to see what was back there?  No?  Check it out...I wussed out and didn't peel back all the layers.

Anyhoo,  as I'm ordering all of my materials for the kitchen, I really need to know ahead of time what I'm working with down there (the FLOOR, people, the FLOOR).  I've got two scenarios:

1. I rip up all of the floor layers and find beautiful wood floors that just need a little TLC to make them shine. (fingers crossed, please, flooring gods!!)

2. I rip up all of the floor layers and find 66 year old plank subfloors, which will require installing new wood floors.  (Yes, naysayers, I'm doing wood in the kitchen.  And I plan on splashing grease and spilling food on it.  If you think I'm doing travertine tile in the kitchen, then plan to start calling me Tarek el Moussa and give me my own show on HGTV  (hardcore HGTV'ers will get that reference...the rest of you...meh.) )

If Scenario #1 happens, I'll be in heaven.  If Scenario #2 happens, I've got a plan. 

I have oak wood floors in every other room of my house except the bathroom (yay for no wall to wall carpeting!).  Side note:  I watch too many episodes of House Hunters where people say they want a house with carpet because it's "cleaner".  WHAT???  Carpet is the most disgusting thing on Earth for people who like a clean house, and for those who have allergies.  I look at carpet, and feel like I can SEE the billions of microscopic organisms just squirming their way into the corners and under the furniture.  Gives me shivers.

My apologies to you if you're a fan of carpeting.
I. Just. Can't.


So.  Because my oak floors are now 66 years old, they are aged and dignified.  If I try to put brand new oak flooring next to these, it would probably look ok, but I'm not going for just ok.  I need character, continuity, and beauty.  So if I need to put in new wood floors, they'll be new to me, but they won't be new- I'll be buying salvaged flooring from an old house. One advantage of living in a large metro area is there are plenty of opportunities for architectural salvage materials!  I've got two places on my radar if I need them:  Architectural Salvage Warehouse of Detroit, and Reclaim Detroit.  Both work with local non-profits to train and employ those needing job assistance in the Detroit area- I'll gladly give some of my renovation money to great groups like these!


Pardon Our Dust...
source


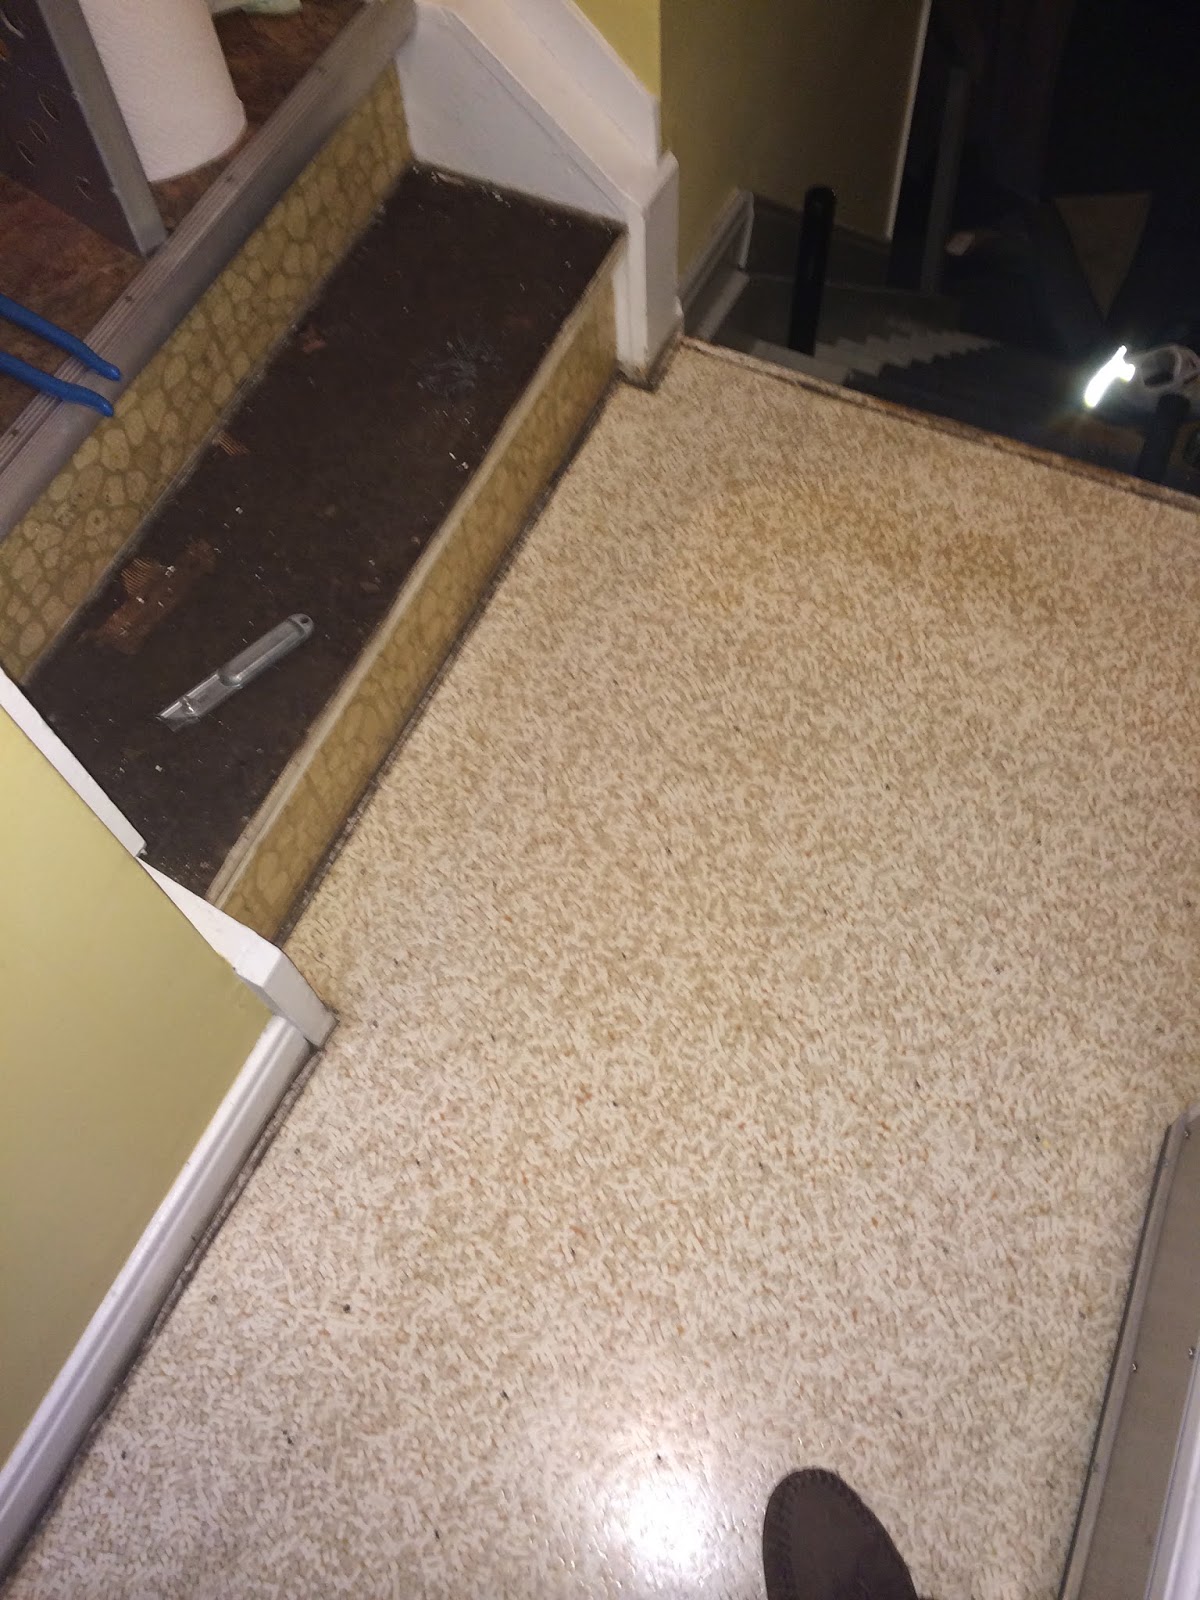
In order to do some flooring archaeology, I decided to tear up the side entryway rather than the whole kitchen floor.  As I didn't have any muscle to help, I thought it might be better to start small! To give you a point of reference, the side entryway connects the kitchen to the basement, and leads outside to the driveway- a pretty standard setup for a mid-century bungalow.  I actually had my fingers crossed that maybe, just maybe, this side entrance may have some neat-o tile, but alas, that was not to be, which leaves me little hope for the kitchen floor.  Here's what I did:

The floor as it's looked for 7+ years.  
I spent around $75 shortly after we moved into the house in 2007 to put down some "temporary" peel and stick tiles to cover up the god-awful gold 70's vinyl.  Almost 8 years later...


Do the two step.
I started with the two steps that go up into the kitchen...that gold vinyl is starting to rear her ugly head again.


And there she is.  Breathtaking.
Literally.
It takes my breath away, and replaces it with vomit.


Oh look.  A blank stair with nothing good underneath it.
Bummer.


Well, let's start near the door.


More vinyl.  That is now covered in ridiculously sticky residue.
Awesome.

At this point, I had to throw two scrap towels on the floor in order to walk on the floor- my feet would have been stuck otherwise.


Those towels are now toast.
Sorry, towels.


No beautiful tile or wood under here.  Sigh.
Correction: Luan board is only spelled with one "n".
Apparently I have the girly version in my house.


It's crowbar time.


This took some wiggling, and sweating.
Not to the oldies, though.
More to the cuss words.


I wasn't joking.  Those towels are STUCK to that glue.
Also, ghost hunters might say that the white orb to the left is
my faithful house ghost, Anna.
Heyyy, girl.


Wowza...it's another layer of flooring!
Filled with staples- even more amazing!
(sarcasm abounds.)


Every. Four. Inches.


I secretly kinda like this floor.
Ok, it's not such a secret.
Too bad it's filled with staple holes!


Oh yeah.  There's another layer under there.
And it's probably filled with asbestos.
Sigh.


So, here's where we leave it.  With a layer of flooring covered in staple holes (I pulled out over 100 staples.  It's a miracle my hands even work to type today!), tools all over the floor, and the toe of my toasty slipper peeking into the picture.

I don't have any amazing "After" pictures, and I'm not giving you a sneak peek just yet into my kitchen plans.

Deal with it-there will be plenty to see in March, and I can't wait!!

Monday, January 26, 2015

Quilt Hugs


Well, it's been a good long while since I've written, but there's a reason for that.  I worked my tail off through October, November, and December working to finish Christmas presents (as any good DIY'er did!!).  I couldn't share any details of my work before now, so as not to spoil the surprise, but I'm finally finished, presents have been delivered, hugs have been given, and all is well with the world.  I've been taking a crafting/DIY break in January- sometimes you can DIY just a wee bit too much.

Here's what I've been working on for the past 3 months:

Quilts...SIX of 'em.


Pause.  Grab some tissues, it's about to get real up in here.


Since my daddio passed away a few years ago, it's been difficult to decide what to do with some of his belongings.   Thankfully, my mom was strong enough to know that something positive needed to be done with his things, and the quilt idea was born.  I pinned this picture earlier in the year, not really with the intent of doing anything specific with it, but just because I liked the quilts, and wanted some inspiration should I choose to make another.  See my first attempt at quilt making here.


My mom saw the picture, and something about it kept nagging at her.  She was set to visit me in October, and as we like to be crafty together, her wheels were turning.  "What if we use Dad's shirts to make that circle quilt?" she asked.  And an idea was born.

So, over wine and tears, she bravely packed up his shirts, and brought them to me.  Over more wine and tears, we took a deep breath and began the slow process of creating beauty and love out of heartache. 


All of the quilt backings were made with different flannel patterns.
You only get to see mine :)

I did not take pictures of the process, as making these quilts wasn't about a blog post, or providing a tutorial to readers.  I'm only sharing my quilts now so that my faraway friends and family can see them!!  If you want to make your own circle quilt, feel free to message me, and I'll be more than happy to walk you through the process.  It's not a quick process, but it is a beautiful one. 

When you can no longer hug your loved ones, hugging a piece of them is the next best thing, isn't it?

Dad's favorite red flannel shirt.


End note and shameless plug:  I, and many others, loved my daddio something fierce, and will be walking/running in his honor in March at the annual Run for Dennis 5k.  Check out our website- join us in person or virtually for an amazing cause!

Monday, November 3, 2014

Whatcha doin' with that Washi Tape?

Every time I stop into a craft or office supply store, it's there.  Rows and rows of beautiful washi tape, the colors and patterns a visual feast for the eyes, whispering, "Take me home.  Please.  Just take me home."   For a few bucks, I'm more than happy to oblige their quiet longing.

If you're not familiar with washi tape, get on the bandwagon- you can use it to decorate just about anything!!  It's really just glorified masking tape, and it's pretty sad that TAPE makes me gleeful these days, isn't it?  I'm really getting old.

Let's just hop right to it- here's some fun things I did recently with washi tape!


Picture frames!  

I contemplated painting these cheap black frames that I've had since college, but a strip of gold tape did the trick!  (Prints are a greeting card print from Alaska, and a postcard of the Merchandise Mart Building in Chicago).


Computer monitor!  

Can you tell that I taped up my laptop screen, too?  There's too many big black boxes on my desk...they needed some cheap glamour.  I might have gone a wee bit overboard.
Linen Closet Shelves!
So much white in this closet...it needed a little visual eye candy surprise.


Lamp #1!

Lamp #2!
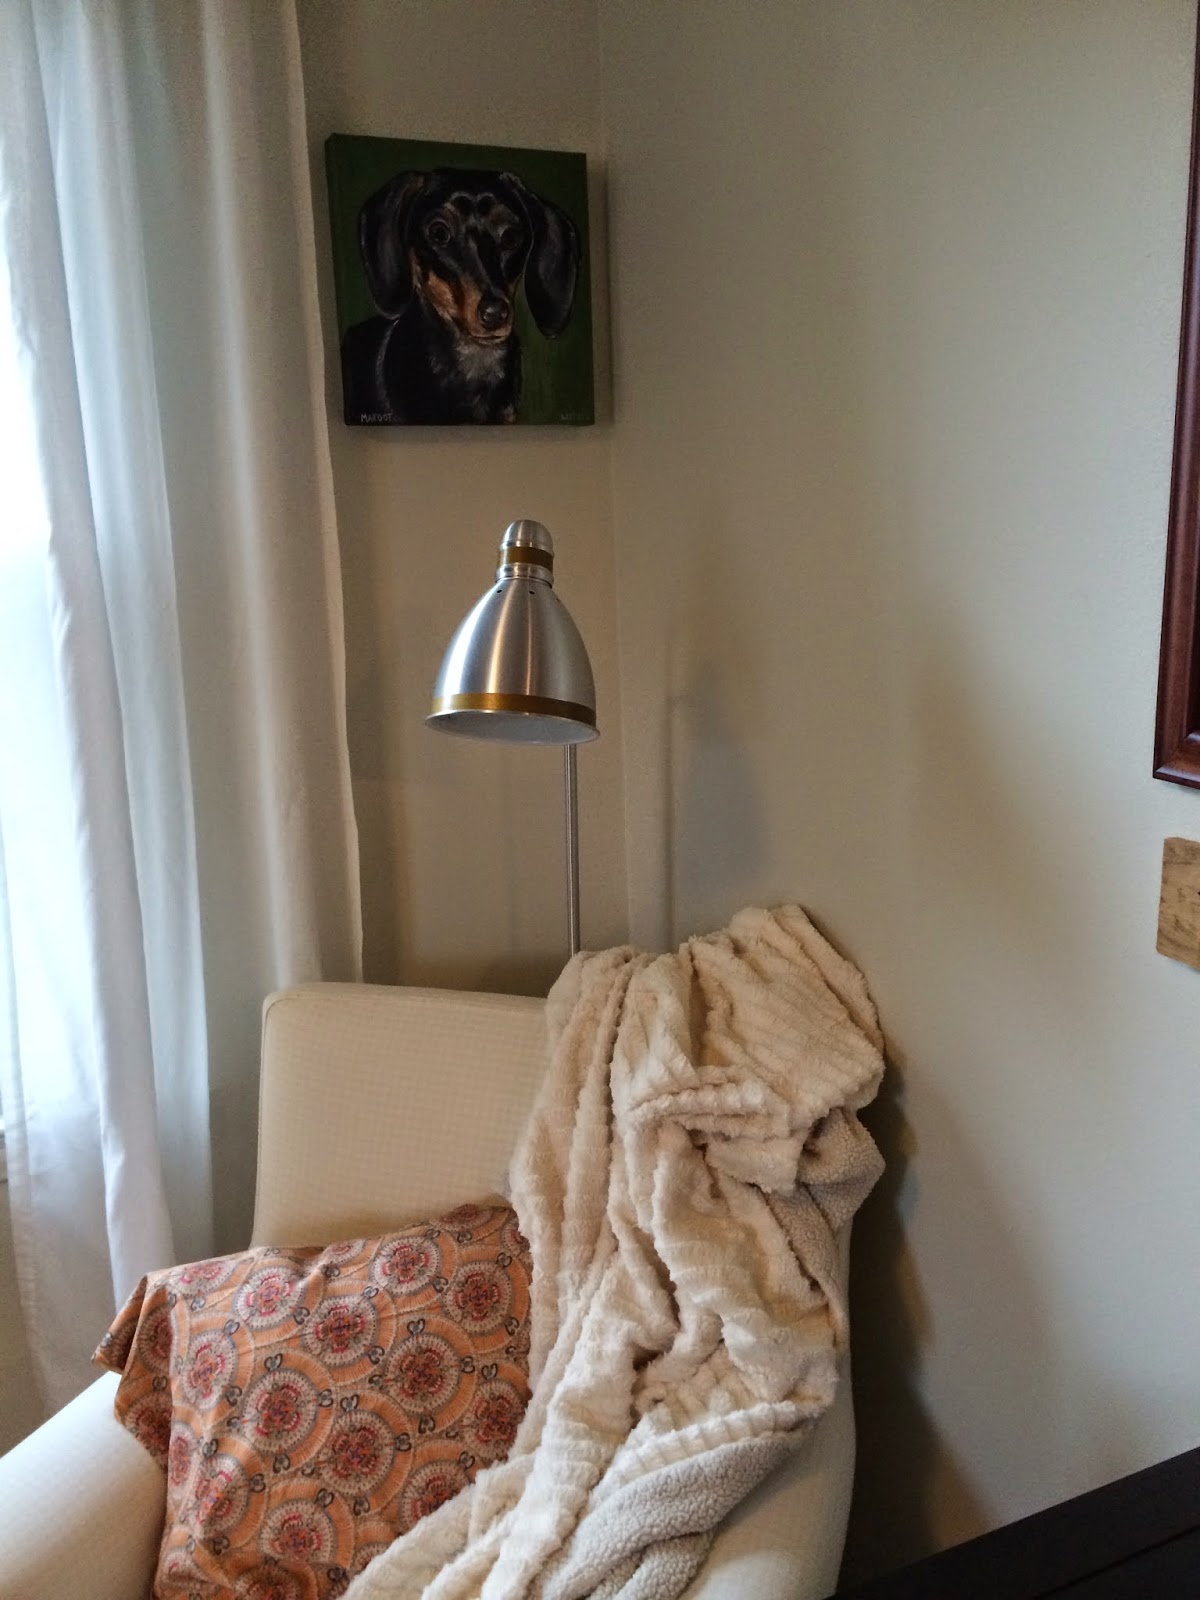
I've seen a bunch of lamps lately that have a mix of gold and silver on them, and as these Ikea lamps are PERFECTLY FINE, I added a wee bit of tape to jazz them up.  This *slightly* satisfies my urge to buy fun new lamps that have the vintage cloth cords on them- have you seen them anywhere?  They're adorable.

I also have decorated quite a few packages with the tape- it looks really cute around brown paper packages!  No one is ever upset to get a pretty package in the mail, am I right?

If you're a sad sack like me who gets excited by tape, go buy yourself some today.  It's fun, it's cheap, and it's not permanent.  Tape, tape, tape it up!


I really hope you're now singing, "Pump, pump, pump it up" repeatedly, because who knows any of the other lyrics, right?  Also, did anybody notice that my office is now white?  Woot woot...it's coming together!  I'll do my next post  on all of my office DIY's when it's cleaned up and dust free:)