Showing posts with label wood glue. Show all posts

Sunday, April 5, 2015

It's Coming to Life!!

Week Four...check out the progress!!!


YESSSSSSSSSSSSSSSSSSS.


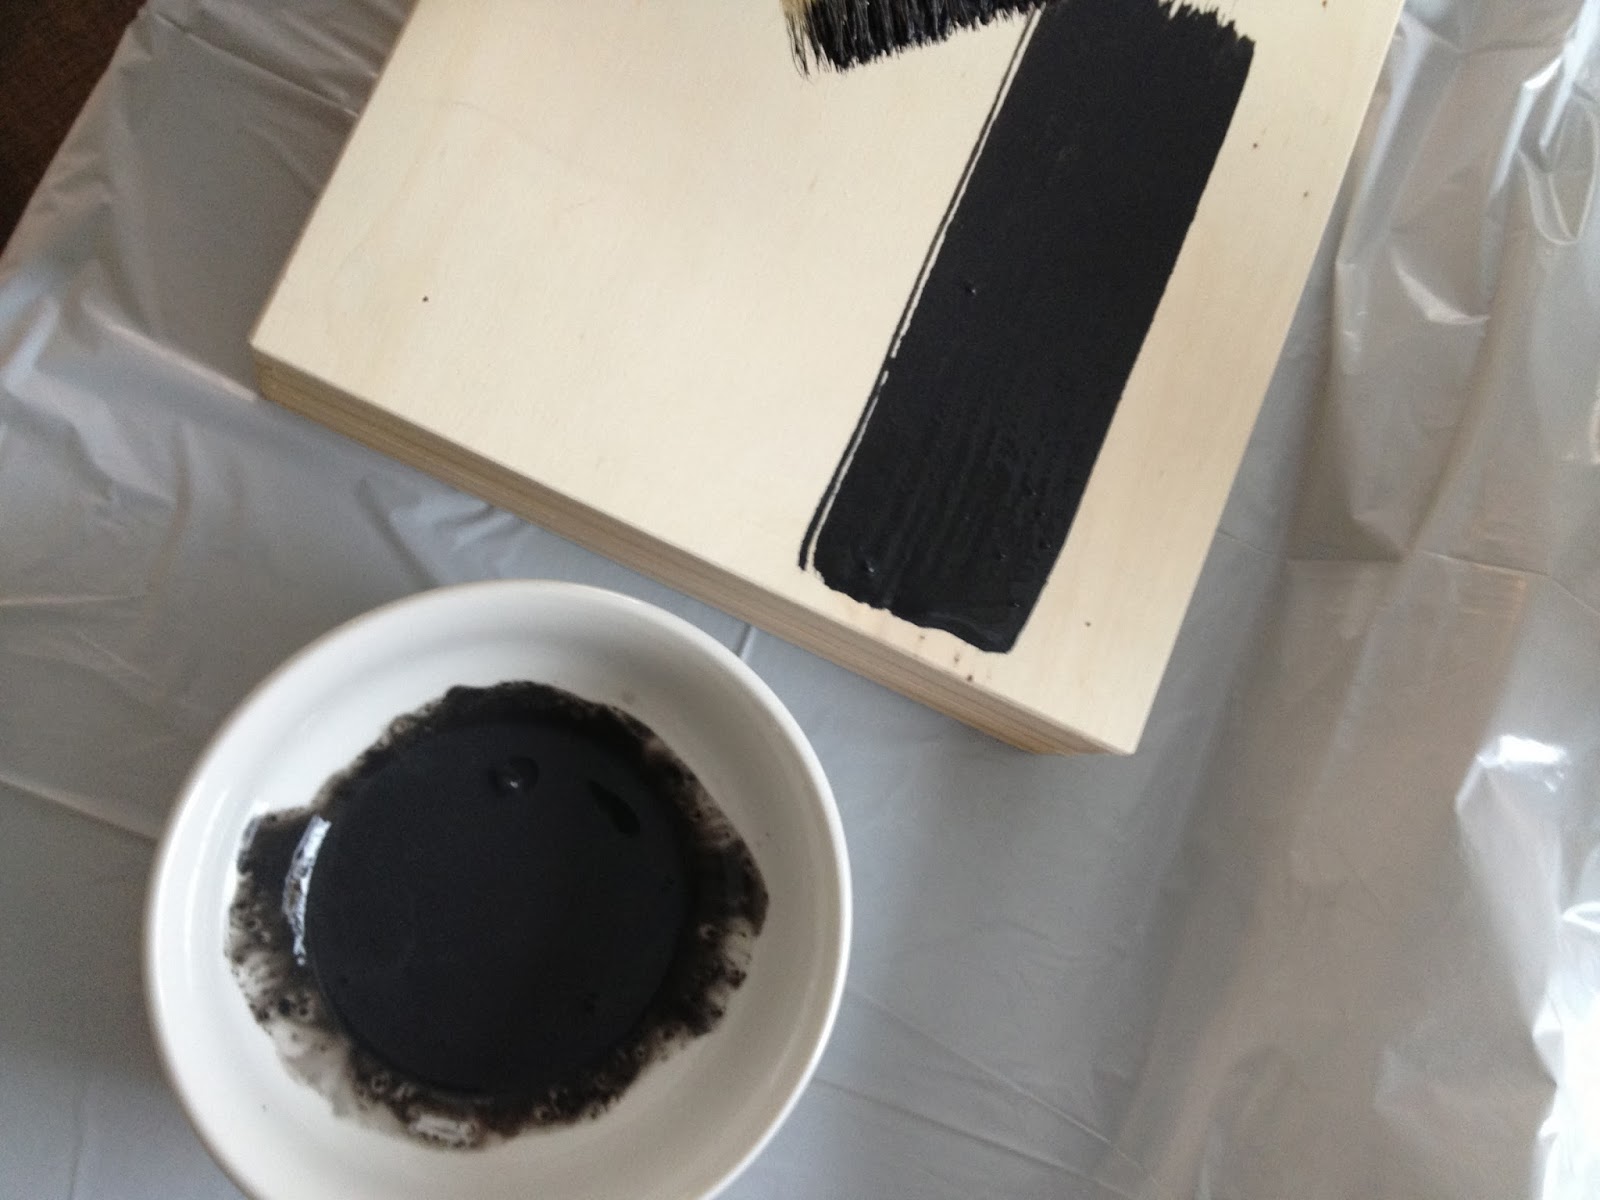
The floor went in.  I was sitting in my office eavesdropping (ahem, working) while the contractor and his guy were discussing my reclaimed wood, and how best to install it.  Apparently reclaimed wood flooring is a pain in the ass to install.  If you're thinking of using it because it's cheaper, think again.  It's really not.  The initial cost may be (I paid $2.00 per sq. foot), but there's a lot of labor involved that brings the overall cost right back up.  The  benefits you get from reclaimed wood are that you keep it out of the landfill, and if you're putting it next to already aged flooring, you'll be able to get a better match for a consistent look.  Boards change color when they age- putting one stain color on new vs. old boards can look vastly different.  It's kind of like borrowing your best friend's  most prized red lipstick- the one that looks so glamorous and old Hollywood on her, but looks like a cheap trick in the making on you.  Get it?

We ran out of useable "old" wood slats and had to use a few square feet of "new" wood.
No worries, it's under the fridge, and once sanded and stained, you won't even notice it!

So what makes reclaimed wood a pain for those installing it?  For starters, some of the tongues are missing- they were either broken off or cut out when the planks were removed from their previous home.  They were also previously refinished, so there are small pieces of filler stuck to the sides, which can prevent the boards from being installed flush/tightly to each other.  This means extra work for the installers, and once installed, the floors still need to be sanded down and refinished again.  It's pretty labor intensive, so what you save on materials, you more than make up for in labor costs.  I've made my peace with it, though- I feel an obligation to this old house to treat her well.  (Are you kind of surprised I'm not married to an 80 year old man with how much I profess to love old things?  Dave is 353 days older than me...I think that counts, right?)

My original hardwoods run in two different directions: Dining room to the left,
and living room to the right.
The kitchen hardwoods have been installed, but haven't yet been sanded and stained in this picture.

(You may also be asking yourself, "Why didn't you just feather in the new flooring with the existing flooring so that you didn't have a threshold between the doorways"?  Well, friends, my hardwoods extend past the living room, though the hallway, and into two bedrooms as one continuous piece.  If I had feathered in the floors, I would have had to remove ALL OF MY FURNITURE from the first floor in order to sand and refinish EVERYTHING.  Not happening.  Also, we just refinished the hardwoods eight years ago when we moved in- they're in great shape!)

Refinished kitchen floors on top, existing living room floors on bottom.
Pretty damn close, right?!?
They turned out GREAT, didn't they??

Dave has caught me many times this weekend just standing in the doorway staring at the floors.
"You know they aren't going to change in front of your eyes," he says.
Yes, but they are JUST. SO. AMAZING.


The cabinets have also been installed...yay!!  My inspiration picture had simple shaker style cabinets, but I opted for an even simpler flat black cabinet panel.  I really love the juxtaposition of modern elements mixed with vintage, so I'm pairing a more modern, streamlined cabinet front with brass and wood.  I think the "older" elements will help to tone down the more modern cabinet shape.  Also, I've always got that dreaded term "resale value" stuck in the back of my head.  This is our first home, and although we love it, we know that it isn't our forever home.  While the design pros will always tell you that white cabinets are best for resale, I think that if someone doesn't love my taste, they can easily change out the countertops and cabinet hardware to create a completely different look.  Plus, since these cabinets are already painted and not stained, I don't think anyone would feel too badly if they just wanted to paint them again in a different color.  I've really thought this through and made the best of excuses to justify black cabinets, haven't I?!?

Not much to see here...YET.
Just a lonely little vacuum attachment trying to keep things in order around here.


This coming week, the countertops, tile, and finishing touches should go in...the end is in sight!!

Monday, January 20, 2014

Boxes O' Fun.

After Dave and I take trips, I like to create photo books with some of our best pictures.  For our bigger trips, I try to document each day's excursions, knowing that 5 years from now (heck, 5 weeks from now), I won't remember some of the great details of our day to day experiences.  Those descriptions get added in to the photo books, as well.  Snapfish, Shutterfly, Costco, Apple's iphoto...it doesn't matter which one you use- they all offer page options in your photo books for straight up full page text (diary style).  


The Adirondacks, Alaska, Amsterdam.  We are moving our way through the A's, apparently.
Next up, Azerbaijan?

While I love my photo books, I am left after every trip with a variety of postcards, plane tickets, event ticket stubs, receipts, and small trinkets that I want to keep, but don't necessarily want to display on a day to day basis.  Please don't tell me to scrapbook it.  I may do a lot of crafty things, but scrapbooking is NOT one of them.  I feel like scrapbooking is one of those things where you're either all in, or all out.  You can't half-ass a scrapbook, and the doodads and embellishments needed to really make it work can start to add up...CHA-CHING!

I saw a few interesting things on Pinterest that seemed like potential projects to solve my travel paraphernalia dilemma.  This, for example, was kind of neat, but it's not something that goes with the decor of my house.  Dave took one look at it while glancing at my computer screen, and scoffed at it.  

Fancy idea, just not my style.


On to the next idea:


Gotta give credit where it's due.  This one came from my girl Martha.

This one, I thought, was do-able and practical.  All I needed was some paint and wooden boxes.  JoAnn's, Michael's, and Hobby Lobby all have similar boxes to this,  so take your pick of where you'll go.  


I bought gold, brown, and dark grey paint.  I wasn't sure which of the dark colors I might use...
at a dollar a pop, they'll get used at some point!

First things first:  I unscrewed the latches on the boxes- they weren't going to work for this project.  I could have bought similar boxes without latches, but they would have been almost triple the price.  


The hardest part?  Hunting down that super small phillips head screwdriver...grr.

After taking off the latches, I filled the holes with some wood glue, waited for it to dry, and sanded.  I did this process twice.  Because the holes are so small, it only takes a few minutes for the glue to set, so this is a quick step.  You could also use wood filler, but mine had dried out- time to buy a new pot!


Fill 'er up.

Next, I took some charcoal grey paint, watered it down til it was the consistency of heavy cream, and did a dark wash on the boxes, both inside and out.


Remember- when a bit of water is added, the paint wash will dry in a lighter shade than it looks when wet.

As the dark wash dried and the clock tick tock tick tocked, I probably did something fun like washed the dishes or changed the oil in my car.  


Ding!  Drying is done!  See that super clever thing I did there?  Pushpins in the bottom to keep the box off of the table- makes it dry all the way around without drip puddles forming on the bottom.  SO SMART.

For the next step, I watered down my gold paint (slightly thicker than heavy cream this time), and painted just the outside of the box.  I let each box sit for a minute before using a few scrunched up paper towels to slightly wipe off the gold, allowing the dark grey to show through- I was going for a distressed, old gold, not really gold but kind of, you can still tell it's wood, but not stained wood, kind of look.  Did I succeed?


That's really neat.

After the boxes were completely dry, it was time to do some lettering.  I had an alphabet stencil, but decided against using it- I just didn't like the font enough.  I found a few ideas on how to transfer lettering, and decided to try one out.  

I printed my lettering backwards on a sheet of paper and placed it on my box.  I then wet down the paper, and used the cap of a marker to rub the backside of the letters, hoping to transfer the ink off of the paper and onto the wood.


I don't remember what font this is, or I'd share it with you.  Sorry.

No dice.  I read back through the instructions, and noticed that the website stipulated that I use an inkjet printer.  Damn it...I have a printer that uses toner.  Across the street neighbor Kristin to the rescue!  (Yes, we recycle names on our block- it's just too much trouble to learn new names.).  Kristin printed off my backwards letters on her inkjet printer, and I repeated the same process.


Not trying to pull a Rodman here.  Just visited south of the border.

This time, partial success.  I could see the lettering, but it wasn't very dark.  Ugh.  Looked like my "easy" project was acquiring additional steps.


The lettering was only visible in bright light.
The boxes are being put on a shelf with low lighting in front of it.  No dice.

Next, I tried to just trace my faint letters with a paint marker.  Utter failure.  I didn't even take a picture of this step- it was that horrible.  I do NOT have a steady hand, and my letters looked like a kindergartener did them.  I slightly sanded out the trace job, and wiped some new gold paint across my mess.  Good as new to start again.

I didn't want to give up on the font lettering I had printed out- I liked it too much to give in and use the stencil.  For my next try, I printed off my letters on heavy cardstock, and took the time to use a sharp knife to make my own stencil.  Yeah, this was starting to border on madness, wasn't it?  I used a foam brush to slightly tap some paint onto the box using my handmade stencil.  Success!!  (Mostly, anyway).


Oh man,  I should have dusted the shelf before taking a picture.  Yikes.
I'm not going back and photoshopping that out, though.  We keep it real at The Regular House.
And regular houses have dusty shelves.  Live with it.

It's not super crisp, but the more I look at the slightly wobbly lettering, the more I like it.  Gives it character (at least, that's what I'm telling myself).

While waiting for the lettering to dry, I found one more way of transferring this lettering that I thought I'd give a shot.  I glued a piece of wax paper to a regular piece of printer paper (waxy side out), and ran that through the printer.  Then, I used the cap of a marker to rub this onto the box, hoping the ink would transfer off of the slippery wax paper and onto the box.  No dice.  The entire internet lies.  This does not work.  Don't let anyone tell you it does.  Again, I didn't even bother taking a picture.  Just know that it failed.

So, there you go.  Some failures, and a "pretty good" success.  Now to fill my travel boxes with my leftover paper scraps so they're off of the dining room table.  Project complete, and the house has less mess.  Everyone wins.


Next up, it's a whole new shelf redo.  I mean, I can't leave the shelves untouched when they've got shiny new travel boxes sitting on them, right?  Right???