If you're not familiar with washi tape, get on the bandwagon- you can use it to decorate just about anything!! It's really just glorified masking tape, and it's pretty sad that TAPE makes me gleeful these days, isn't it? I'm really getting old.
Let's just hop right to it- here's some fun things I did recently with washi tape!
 |
| Picture frames! |
I contemplated painting these cheap black frames that I've had since college, but a strip of gold tape did the trick! (Prints are a greeting card print from Alaska, and a postcard of the Merchandise Mart Building in Chicago).
 |
| Computer monitor! |
Can you tell that I taped up my laptop screen, too? There's too many big black boxes on my desk...they needed some cheap glamour. I might have gone a wee bit overboard.
 |
| Linen Closet Shelves! |
 |
| Lamp #1! |
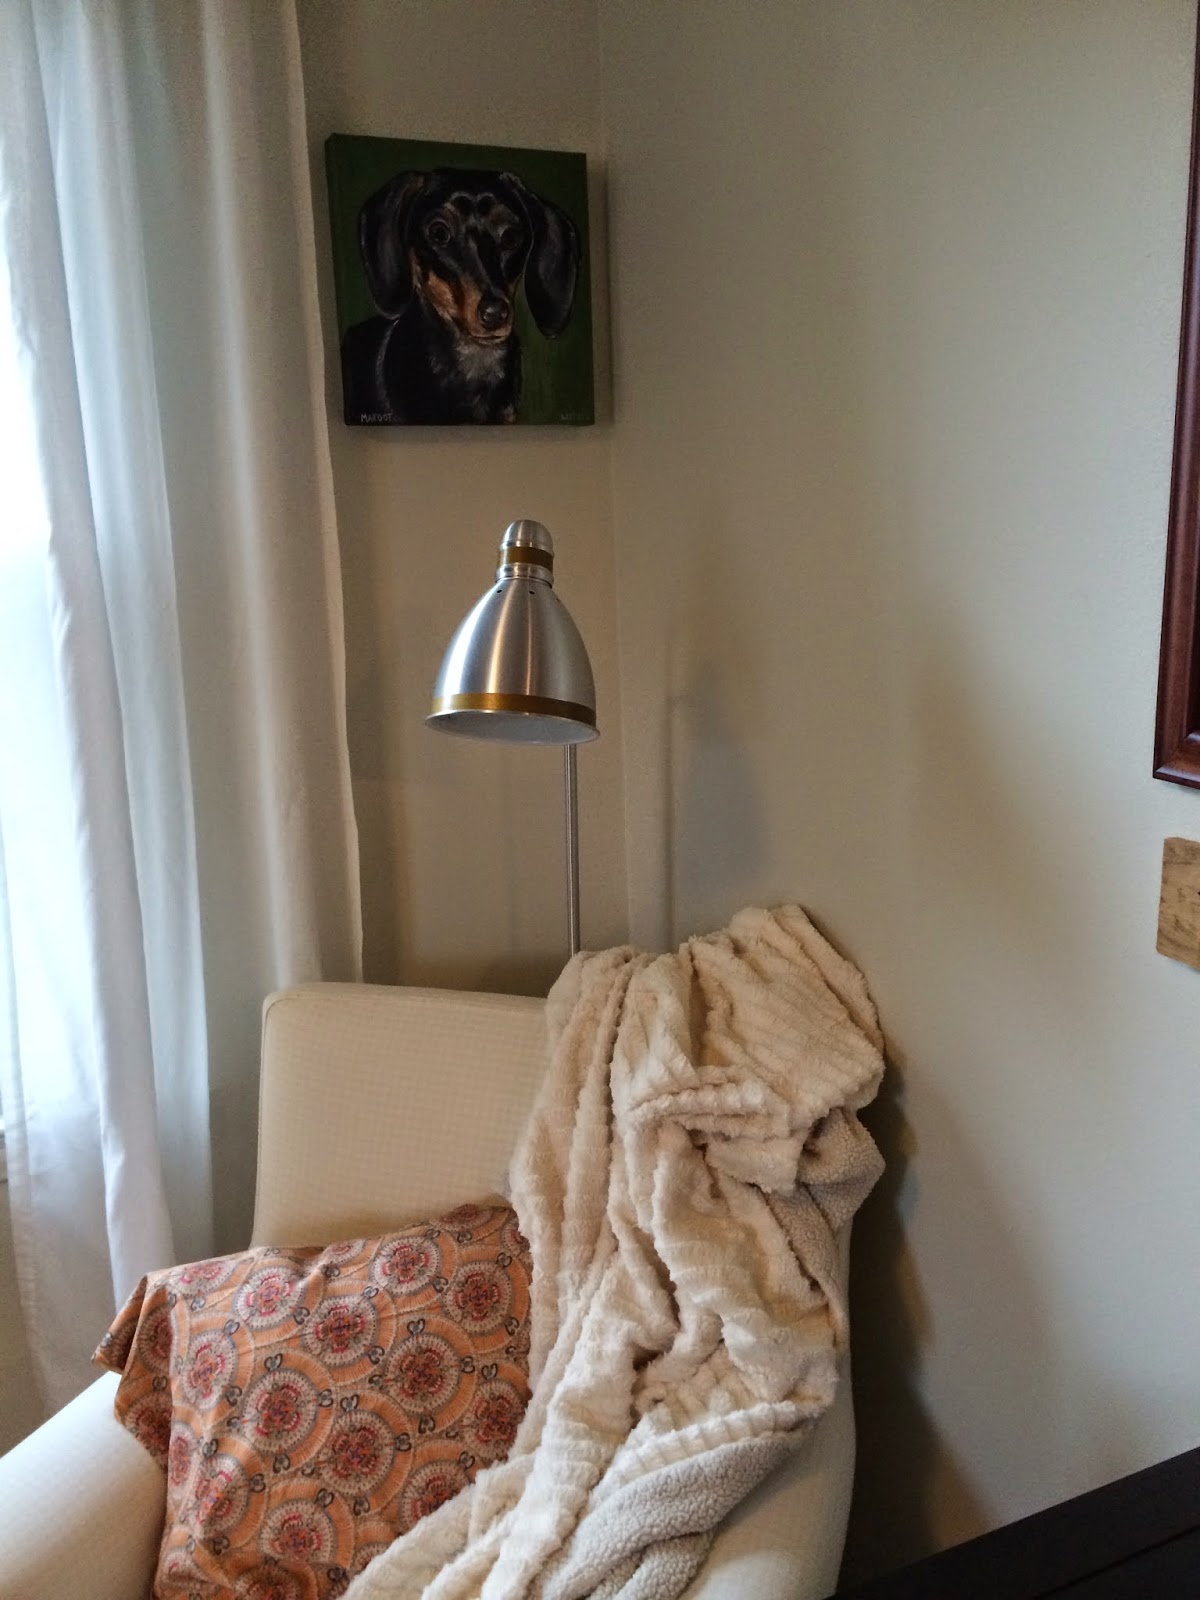 |
| Lamp #2! |
I also have decorated quite a few packages with the tape- it looks really cute around brown paper packages! No one is ever upset to get a pretty package in the mail, am I right?
If you're a sad sack like me who gets excited by tape, go buy yourself some today. It's fun, it's cheap, and it's not permanent. Tape, tape, tape it up!
I really hope you're now singing, "Pump, pump, pump it up" repeatedly, because who knows any of the other lyrics, right? Also, did anybody notice that my office is now white? Woot woot...it's coming together! I'll do my next post on all of my office DIY's when it's cleaned up and dust free:)