Thursday, October 24, 2013

Everything's a Dollar!!

Have you ever laid on the floor of a room in your house and looked at the world upside down?  If not, I suggest you do.  Sometimes it gives you a whole new appreciation for the way things look.  And sometimes, it just makes you realize that you really need to get on the ball and hire someone to fix the falling plaster on your ceiling.  Oh well.

My house is not perfect.  And that's ok.  

In my last post, I promised to discuss the hanging piece on the inside of my hall closet door.  I saw the idea on Pinterest and decided to copy it.  It called for a shoe organizer and some hooks- that's it.   Anybody ever try to do this, though, and realize that the cute things that someone found "at the Dollar Store" never appear in your local store?  Ugh...so annoying.  This is what I saw on Pinterest:

Cute, clear, lots of small pockets.
This is what I found at my local dollar store:

Blue, with less, and longer, pockets.

Not bad, but not great.  I was kind of annoyed by the bright blue, but for $1, I wasn't going to complain that much.  It was, after all, going inside of a closet.  I wanted to label the pockets I would be using with something, but didn't want to spend a lot of time doing so.  I had these labels in my craft closet, bought at a previous time for who knows what, and knew they'd work in a pinch for cheap, fast organizing.  All I did was use some super glue and a Sharpie, and bam, labels were made.  I think they were only two or three dollars, so the entire project still racks in under $5.  Not bad.  I suppose I could have printed labels on stickers, or on colored paper that I then could glue to the organizer, but in the interest of time (and my level of caring), handwritten labels worked just fine.

Really, Dollar Store, how would shoes actually fit in here?

From my last post, I'm sure you saw that I have two bins at the top of my closet that hold bathroom "extras", and seldom used medicinal pieces.  The Medicine bucket used to hold all medicines, pain relievers, etc, but I got annoyed with having to stand on my tippy toes every time I needed to grab something out of the bucket.  All of the medicines that get used on a frequent/semi-frequent basis went in the new door organizer. 

Because I have real wood doors (give a holla for old houses!!), I was able to just use two cup hook screws in the door to hold up the organizational hanger.  No pre-drilling, no marking, just good old fashioned eyeballin' and screwin'.  What?  Get your minds out of the gutter, people. 

Look closely.  The cup hooks aren't level, but that's because the grommet holes on the organizer weren't level.  Balancing people, it's all about balancing it out.


FYI, I have an uncanny knack for being able to tell if something is level, to about a 16th of an inch.  True story.  It's one of my many endearing qualities.  Hmm.  I feel as if I've made mention before concerning my fantastic eye-leveling abilities.  If I did, and I stated that I can level to an eighth of an inch, IGNORE IT.  It's definitely a 16th.  Really.  I swear.

Um....yeah.  We get hurt a lot.


And there you have it.  A quick project that took less than 15 minutes from start to finish.  I will never again have to search in vain for the elusive thermometer (they always seem to be lost in plain sight, right??), or reach up to grab some cold medicine.  It's all right in front of my face now.  Project complete.

Dunzo.


Sunday, October 13, 2013

October is for Organization

Bathroom organization:  Let's do it.  I have one small bathroom on the main floor of my house, accompanied by a toilet stall in the basement that was listed on the realtor website as a "half bath".

The full bath bears the brunt of all bathroom transactions, and is probably one of my most loved rooms in my house (according to my "prettiness" scale).  What, you don't rate your rooms?  Despite its lovliness, it is small, but we make it work.  There's lots that can be done to keep small spaces organized- you just have to work a bit harder at it!

Tiny, but beautiful.


Let's start under the sink, everyone's favorite space to throw junk.   The space under the sink usually becomes a haven for half used hair products, dusty old razors, and broken hair bands.  Do yourself a favor and STOP DOING THIS.  If you have a small space like mine, you may want to do the following:  Make a list for yourself of the products that you use every single day.  Empty out the cabinet, and then only return the products you use consistently.  Let's take a peek through my cabinet:


1.  Makeup case.  I don't buy a whole lot of makeup, so this is enough space for the things I use on a daily basis.  I have some more makeup in the hall closet, but it's really only stuff I bring out if I'm getting really snazzed up.

2.  Outlet:  When we gutted and redid the bathroom, I requested an outlet under the sink to plug Dave's electric razor into.  I do not like things sitting out on the countertop, and I refused to let the razor sully my clean and simple aesthetic.  Best idea ever.

3.  Tall items, like lotion and hairspray go here.  They get used every day.

4.  Vertical storage:  Use that upward space as much as you can- don't waste it!!

Up above the sink, I have a mirrored medicine cabinet.  Thankfully, the bathroom already had a space hollowed out for a medicine cabinet, so we just replaced it with something prettier.  The new cabinet has a front AND back mirrored door, as well as a mirror on the inside.  Right outside of my bathroom, there is also a full length mirror in the hallway, so I get the benefit of a three way mirror to make sure I'm looking good all the way around before I leave the house....whoo ha!  I've been so spoiled by this that now I just get annoyed when I have to get ready at a hotel or someone else's house.  Such a tough life I lead, to not be able to look at the back of my own head 365 days a year.

Well hello there, nice to see you, self.

Inside of the medicine cabinet, I try to keep things streamlined, as well.  Since I use the mirror on the inside, I don't like to clutter it up with too much stuff.  Just the daily essentials for both Dave and I.  See those small, pretty glass cups?  They hold little things, like tweezers, nail clippers, and makeup brushes.  Never hurts to have pretty organizational pieces in unexpected places!

Yep, that's my yellow retainer case.  What's up, nighttime teeth grinders?
If you have a discerning eye and you're thinking to yourself, "Well, that looks like an awful lot of girl's stuff...where are Dave's toiletries?", then I applaud you.  See that big empty space on the top shelf?  Yep, that's what Dave gets- one solitary shelf.  It's a good thing he only requires deodorant and cologne.  What a man.  (He was also out of town when I took this picture, hence the lack of man things invading my space).

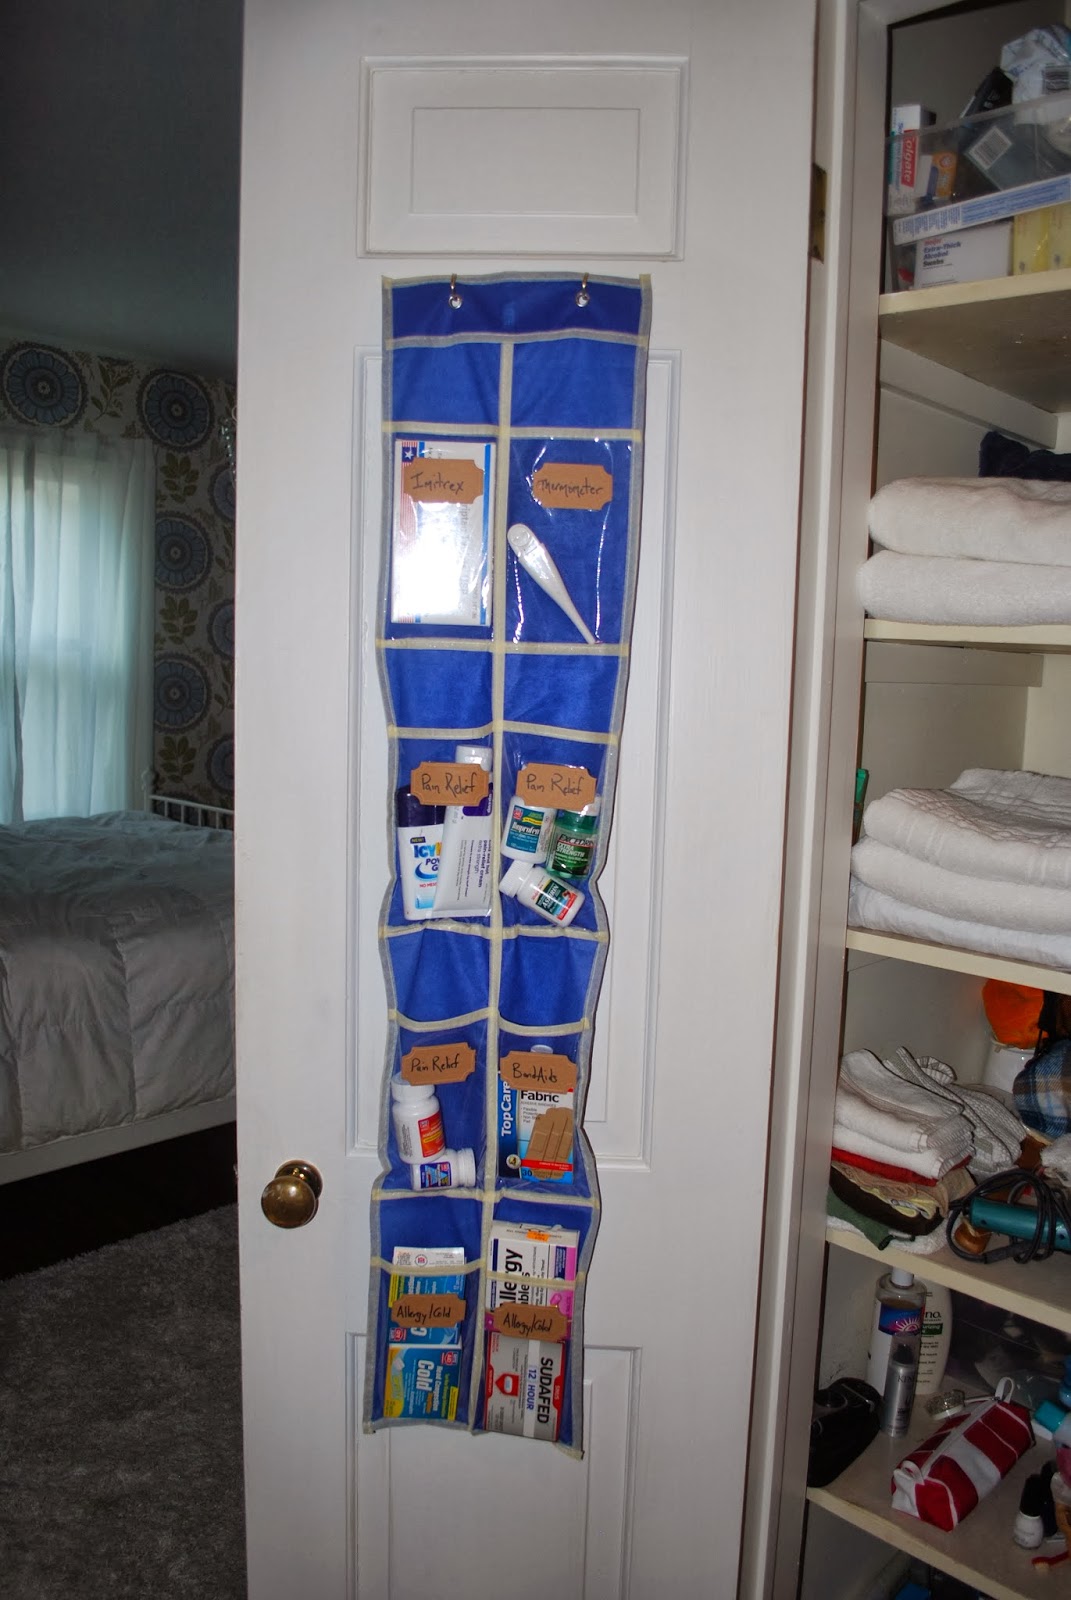
For all other things we need to use, like towels and hair dryers, let's take one (literal) step outside of the bathroom to examine the rest of my storage.  It's not as pretty, but it gets the job done.

One step, wasn't kidding.


Ok, let's go down the list.

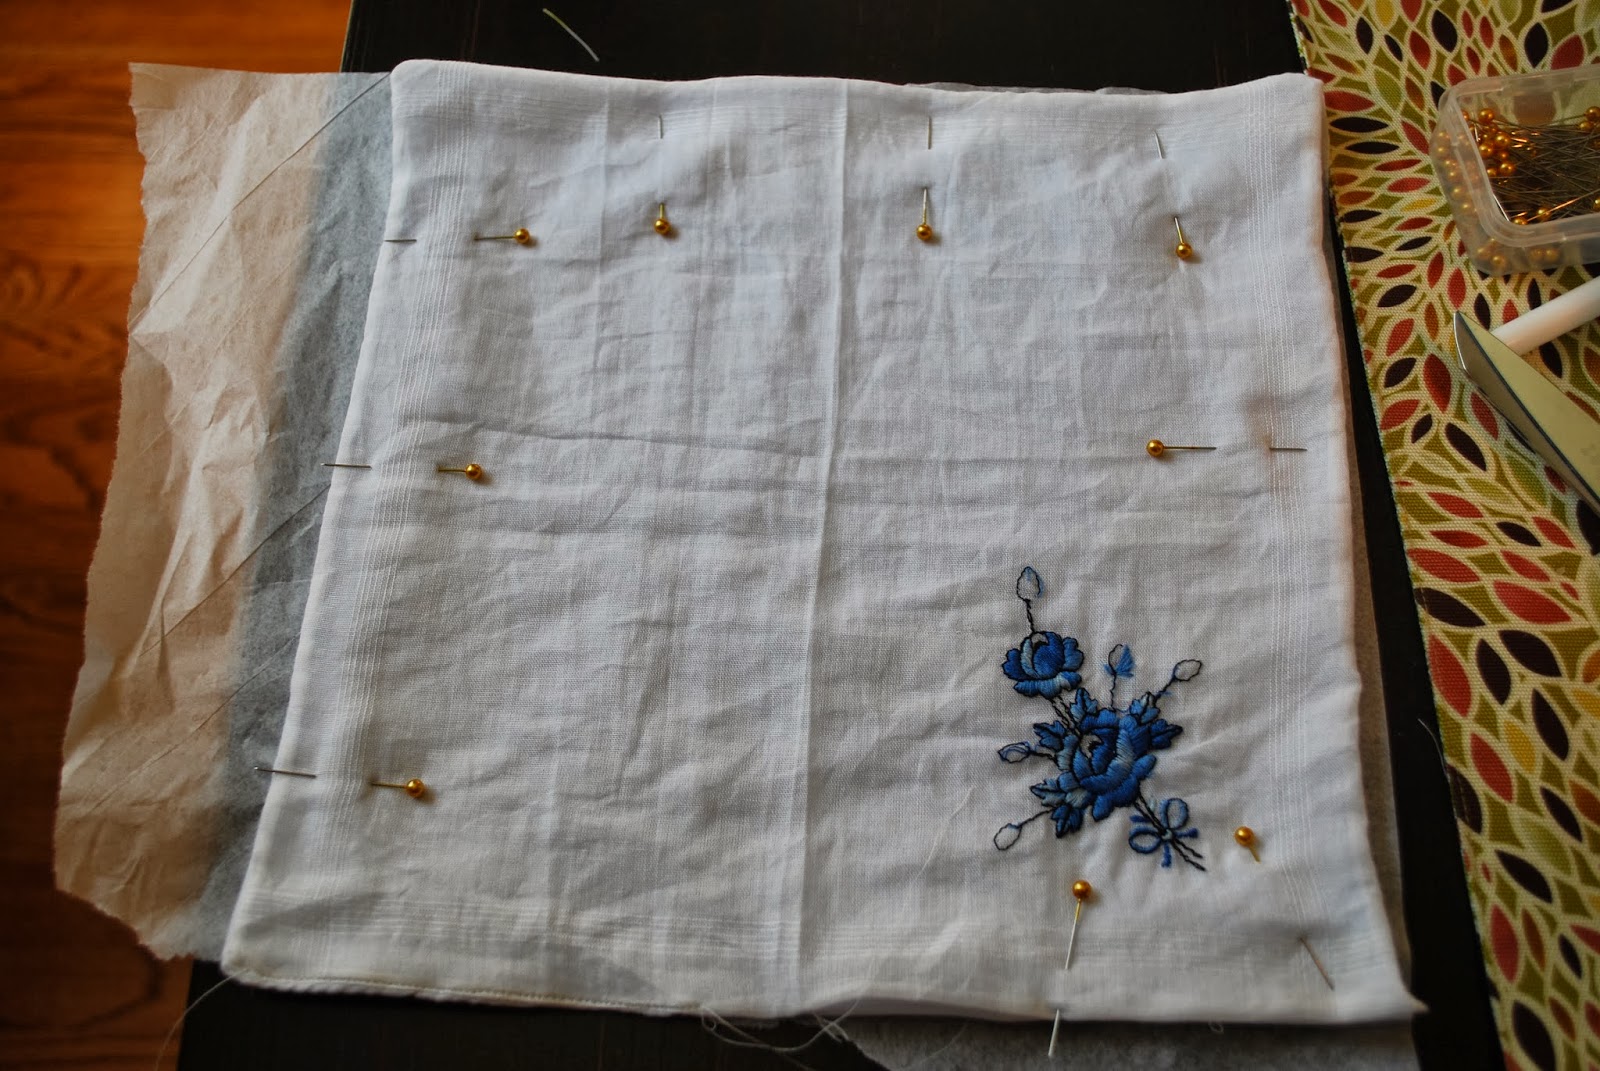
1.  Frequently used medicinal pieces.  I'll be more descriptive in my next post about this $1 DIY item.

2. "Extras" Bin.  All duplicate items, like toothpaste, deodorant, cotton balls, and soap go here.  This keeps us from ever really running out of anything.  Be prepared.  For anything.

3.  Medicine Bin.  Ace bandages, cough syrups, etc.  Things we need, but don't use very often.

4. Pictures from our trip to Alaska.  Just thought I'd throw that in there.  Make your wall art personal!!

5. White towels.  While I'm sure you can see that there are some tan towels on the shelf above, I am a big proponent of only buying white towels.  They always look fresh and clean for guests (with a little help from our friend, bleach), and will never show stained/bleached streaks from the soaps/cleaners/facewashes that we use.  Plus, they go with everything!

6. My shelf.  This is where I store my nailpolishes and other various girl things that Dave doesn't need to use.  Plus, it's just my height.  (Wait, was that a short joke?)

7. Cleaning supplies.  I keep the general bathroom cleaners in a shower caddy for easy movement, along with my vast supply of Mr. Clean Magic Erasers.  I'm not being paid to promote them, but if they are willing to pony up for my endorsement, I will WILLINGLY give it.  I heart magic erasers.  Big time.

So.  there you have it.  Lots of stuff organized in small spaces.  Once again, I am the champion of the world.

Sorry, I've been watching an Eastbound and Down marathon today, and I think some of Kenny Powers has rubbed off on me, as evidenced by that last sentence.  Please click here.  You'll thank me.


Enjoy the week ahead, everyone!

Friday, October 4, 2013

Wine Corks, Chalk Boards and Publisher, Oh My!

Last weekend, my dear friend Ally got married.  Before the wedding, we had several crafting sessions to DIY some wedding pieces.  Let's take a look:

Months ago, Ally gave me a handkerchief that had belonged to her grandmother.  She wanted to use it as her "something old, and something blue", but knew that she'd probably cry at the wedding and need a lot more than this delicate fabric could handle.  She asked me to sew some soft fabric to the back to help sop up her impending tears of joy.  I bought a small piece of white knit (t-shirt like) fabric, but before sewing, needed to clean the handkerchief- it was slightly yellow with age.  


I looked up a few methods online, and ultimately settled on using a small bit of Dawn dishsoap to soak it in for a little while.  It did the trick- the fabric was gleaming white again.  To sew the handkerchief, I just cut the knit fabric the same size as the handkerchief, and pinned the two together (inside out).  I did pin a layer of tissue paper under the knit while sewing to help keep it stable and not allow it to stretch.  It definitely helped!!  After sewing it inside out, I flipped it right side out and sewed a tiny seam along the outside edge to keep it pressed flat.  


Another craft we did during our marathon crafting session was to create the seating card holders.  Ally had saved the corks from many of the bottles of wine she and her husband-to-be, Ryan, had consumed, and she was Pinterest-inspired to use them for the wedding.  We started out by boiling water, dumping the corks in, and letting them sit for a few minutes.  This allowed us to use a sharp knife to cut the corks in half without them crumbling.  We then waited for them to dry out a bit, and dipped them halfway into some purple RIT dye.  Ally wanted a more organic feel to the corks, so we didn't try to be neat and even with our dipping...some dye ran in rivulets down the sides of the corks, and it made them look even nicer.   After letting that dry, we used a sharp knife to cut a slit in the corks, slid in a paperclip, and PRESTO!  Pretty place card holders!  Note to self:  Use gloves next time.  Purple RIT dye does not make for beautiful hands.


The names and table numbers were printed on table cards from Michaels, and the gems were meal indicators.  

Ally also bought a number of cheap frames from Ikea, and we turned those into chalkboards.  We spray painted the cardboard from the backs of the frames, and used that as our base for chalk sayings.  


Yes, I know this sounds weird- the HAVE is missing from this photo.

Ally had previously printed off the lettering she wanted to use, and we played around arranging where the words would go.  Next, I took the lettering, flipped it over, and traced the backwards letters with regular white chalk.  We repositioned the words face up on the chalk board and rubbed over the pieces of paper, leaving the chalk residue right side out in order to trace over it with a chalk pen.


Can you see the light chalk outline she's drawing over?

After this, the board was done and ready for the wedding site!!


Beautiful, no?
Ally also did some great DIY projects on her own.  She is a whiz with Microsoft Publisher, and used it to make these great things:


Hotel door hangers!

After making these, Ally used a circle punch to cut the door knob holes.  The thickness of the paper left some jagged and feathery edges on the circle, though, so we recut them using a Fiskars adjustable circle cutter.  It has a sharp blade on it that cut through the thick paper much more nicely.  

Ally also made the table menu cards that were part of the centerpieces.  The cards were printed on pearlized 8.5x11 sized paper, and then cut using an office paper cutter which we did NOT take home over the weekend from someone's place of employment.  Ahem.


The vase that the card is sitting in were from CB2...great find!!
Publisher was also used to create these cute "tickets" for the photo booth.  They were placed at everyone's seats, and ensured that some very memorable photos were taken!

Dear work, please do not recognize your paper cutter.  

It is grossly apparent by the bottom right photo that I have no idea what sexy is by the face given when Jenny shouts, "Make a sexy face!!".

Our second crafting session had us working on a few things.  We took a large frame (again, from IKEA), drilled holes in it, attached hook screws, and ran wire through the screws.  The purpose of this frame was to hang cards with all the wedding guests' names on it.  Upon entering the reception, guests were asked to place their cards in one of two glass jars.  Each name in the jars represented a monetary amount that Ally and Ryan would donate to the charities of their choice.  What a nice idea!!

Girls using power tools, yeah!

Mini clips and names.  Ready for a charity competition!
Ryan's charity:  Global Volunteers: Tanzania Program
Ally's charity: The Crohns and Colitis Foundation of America

Next up: letters!!  Ally bought these block letters at one of the local craft stores, and we painted them with a hammered silver spray paint.  I then took a skinny piece of wood, painted it white, and glued it to the back of the letters to help them stand up on the table.  Ally had a pillow made that she set at the bride and groom table, as well.  The vase painted with the white ampersand held the bridal bouquet after the ceremony.  I think it's a good sign that I never got a picture of it- too busy dancing and having actual fun!!


Weddings are such fun, aren't they?  As much as I love the crafty prep that goes into them, I'm even more of a sucker for the wedding itself.  The googly eyes, the hand holding, the WEDDING NIGHT...and I'm not even talking about the bride and groom (insert rim shot here.)  It's probably best I end here before making any more inappropriate jokes.

Wishing you both a lifetime of love and happiness together!!

xoxo, everyone.