
 |
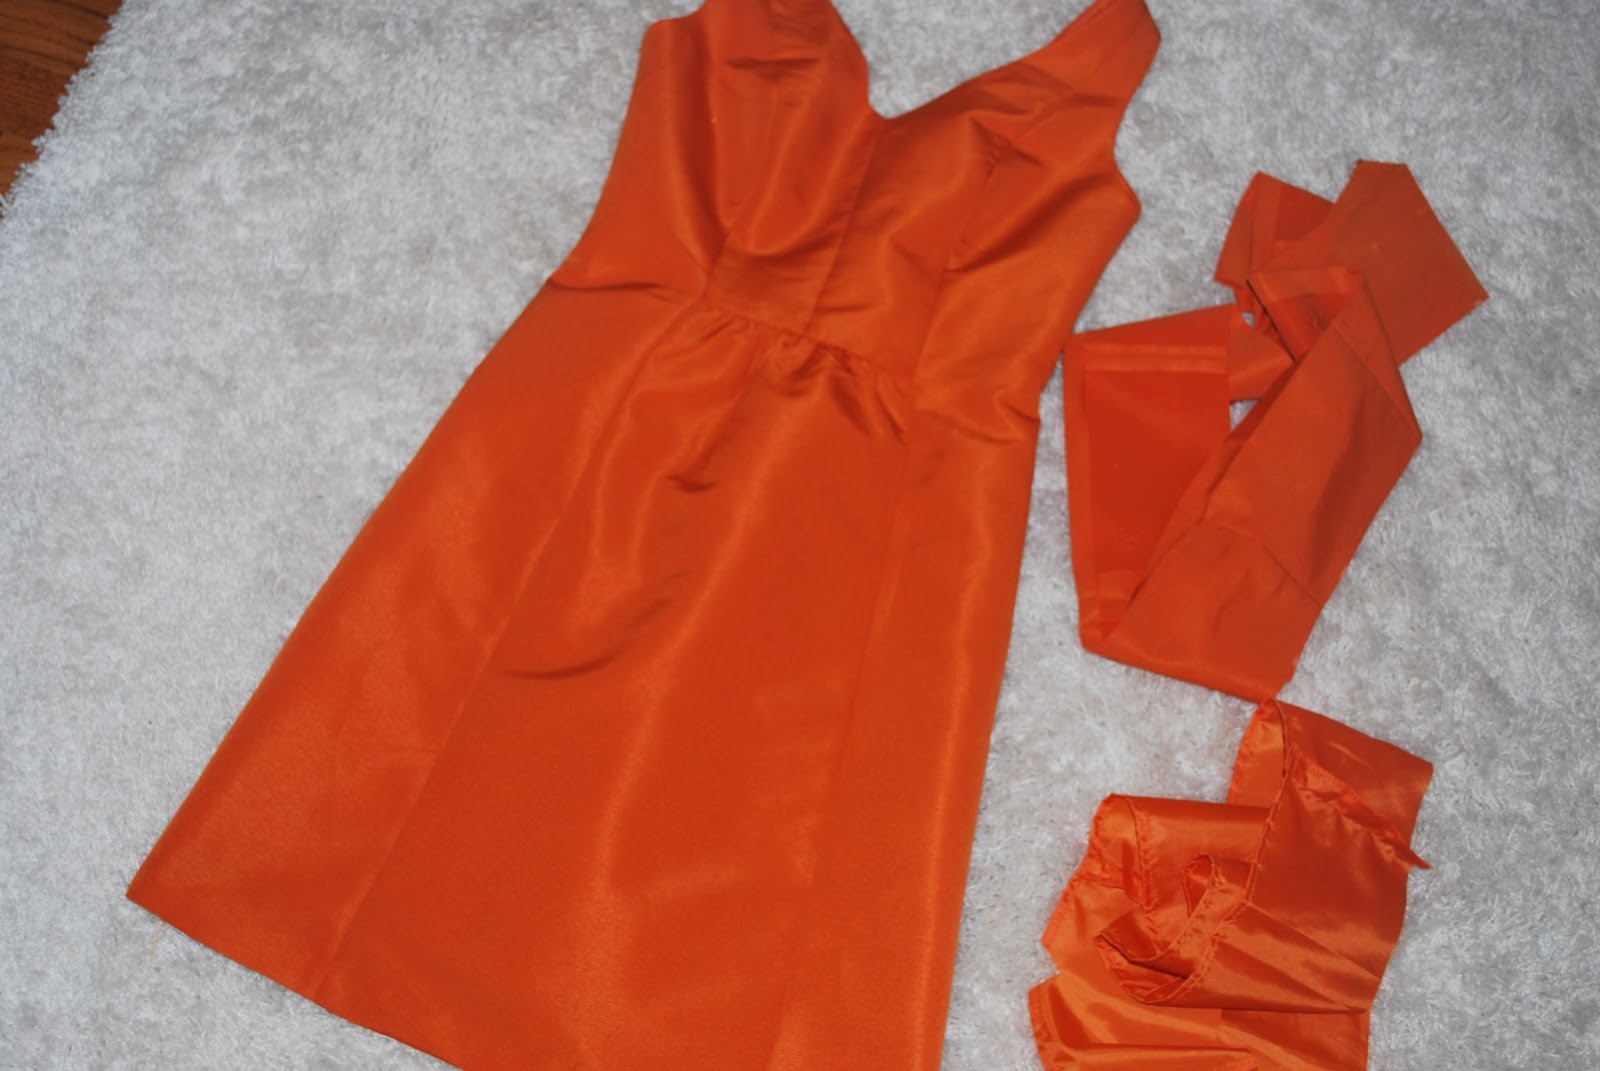
| It's orange. It's happy. It's too long. |
I wore it a few years ago to a wedding, and while I love the color, I didn't love the length. It hit mid calf, which for ladies, is one of the worst lengths for dresses. It makes your calves look wide, and your legs look short. Every woman's dream, right? I've tried it on several times before going to a dressy event, and always put it back in my closet. It just wasn't right.
Today, instead of continuing to hem and haw over the dress, I decided to just suck it up and HEM IT. I don't know why such seemingly simple fixes sometimes take so long to get done. Once you do it, you're really ticked you didn't do it sooner.
If you have any sewing skills at all (and the time!), hemming is one of the simplest things you can do yourself. From start to finish, this job took me about 1.5 hours, since I already had all of the supplies I needed.
 |
| You're going to need more than this to shorten a hemline, but I had to prove that I was ready to go with my supplies, right? |
This dress had a lining to it, so I actually had to sew two hems- no biggie. Just make sure the lining is at least an inch or two shorter than your outer hem. The original hemline of the dress was sewn with an invisible stitch over a piece of ribbon to hide any raw fabric edge without creating a bulky, double folded seam. I decided to reuse the ribbon and copy the original. If it ain't broke, don't fix it.
 |
| Original hems. |
After measuring and cutting my fabric (I cut it a half inch longer than I wanted the full hem length to be), I used a seam ripper to rip the ribbon hem off so that I could reuse it. I then sewed the ribbon onto the raw end of the dress, and folded it over, ironing as I went to create a sharp line.
 |
| Chalk it up to good measuring skills...heh heh heh. Good joke. |
 |
| Double fold the lining to sew a neat seam. |
 |
| Sewing the ribbon to the dress. |
 |
| Fold the new edge over and PRESS the hell out of it. |
I then used matching orange thread to sew an invisible hem onto the new length of the dress. PRESTO..dress fixed.
 |
| An invisible stitch should mean that you can't see it from the outside of the garment. But what good does it do to take a picture of something you can't see? EXACTLY. |
I'm really not here to give you a full blown tutorial on how to create an invisible hem, but it is the most important part of making a dress like this look good. You could machine sew your hem, but if you don't like the look of seeing a hemline on the outside of your garment, an invisible stitch is the way to go. If you really want to know how to do it, or want some practice, check out Youtube. I'm not a teacher anymore, yo.
 |
| Now hits an inch above the knee- the CLASSY length for ladies over thirty. Feel free to bolster my self image and reaffirm my descriptive word choices. |
PS- If you just scoffed at everything I wrote and took pictures of, go take your clothes to a tailor. Somebody's gotta put bread on their tables:)
No comments:
Post a Comment