
 |
| Yes, I consider DIY to be therapy. Potato, potahto. Notice the absence of questions on Dave's end, and my ignoring of his response. We're such a good team. |
So who remembers when I started picking apart the floor behind the fridge to see what was back there? No? Check it out...I wussed out and didn't peel back all the layers.
Anyhoo, as I'm ordering all of my materials for the kitchen, I really need to know ahead of time what I'm working with down there (the FLOOR, people, the FLOOR). I've got two scenarios:
1. I rip up all of the floor layers and find beautiful wood floors that just need a little TLC to make them shine. (fingers crossed, please, flooring gods!!)
2. I rip up all of the floor layers and find 66 year old plank subfloors, which will require installing new wood floors. (Yes, naysayers, I'm doing wood in the kitchen. And I plan on splashing grease and spilling food on it. If you think I'm doing travertine tile in the kitchen, then plan to start calling me Tarek el Moussa and give me my own show on HGTV (hardcore HGTV'ers will get that reference...the rest of you...meh.) )
If Scenario #1 happens, I'll be in heaven. If Scenario #2 happens, I've got a plan.
I have oak wood floors in every other room of my house except the bathroom (yay for no wall to wall carpeting!). Side note: I watch too many episodes of House Hunters where people say they want a house with carpet because it's "cleaner". WHAT??? Carpet is the most disgusting thing on Earth for people who like a clean house, and for those who have allergies. I look at carpet, and feel like I can SEE the billions of microscopic organisms just squirming their way into the corners and under the furniture. Gives me shivers.
| My apologies to you if you're a fan of carpeting. I. Just. Can't. |
So. Because my oak floors are now 66 years old, they are aged and dignified. If I try to put brand new oak flooring next to these, it would probably look ok, but I'm not going for just ok. I need character, continuity, and beauty. So if I need to put in new wood floors, they'll be new to me, but they won't be new- I'll be buying salvaged flooring from an old house. One advantage of living in a large metro area is there are plenty of opportunities for architectural salvage materials! I've got two places on my radar if I need them: Architectural Salvage Warehouse of Detroit, and Reclaim Detroit. Both work with local non-profits to train and employ those needing job assistance in the Detroit area- I'll gladly give some of my renovation money to great groups like these!
 |
| source |
In order to do some flooring archaeology, I decided to tear up the side entryway rather than the whole kitchen floor. As I didn't have any muscle to help, I thought it might be better to start small! To give you a point of reference, the side entryway connects the kitchen to the basement, and leads outside to the driveway- a pretty standard setup for a mid-century bungalow. I actually had my fingers crossed that maybe, just maybe, this side entrance may have some neat-o tile, but alas, that was not to be, which leaves me little hope for the kitchen floor. Here's what I did:
 |
| The floor as it's looked for 7+ years. |
 |
| Do the two step. |
 |
| And there she is. Breathtaking. Literally. It takes my breath away, and replaces it with vomit. |
 |
| Oh look. A blank stair with nothing good underneath it. Bummer. |
 |
| Well, let's start near the door. |
 |
| More vinyl. That is now covered in ridiculously sticky residue. Awesome. |
At this point, I had to throw two scrap towels on the floor in order to walk on the floor- my feet would have been stuck otherwise.
 |
| Those towels are now toast. Sorry, towels. |
 |
| No beautiful tile or wood under here. Sigh. Correction: Luan board is only spelled with one "n". Apparently I have the girly version in my house. |
 |
| It's crowbar time. |
 |
| This took some wiggling, and sweating. Not to the oldies, though. More to the cuss words. |
 |
| I wasn't joking. Those towels are STUCK to that glue. Also, ghost hunters might say that the white orb to the left is my faithful house ghost, Anna. Heyyy, girl. |
 |
| Wowza...it's another layer of flooring! Filled with staples- even more amazing! (sarcasm abounds.) |
 |
| Every. Four. Inches. |
 |
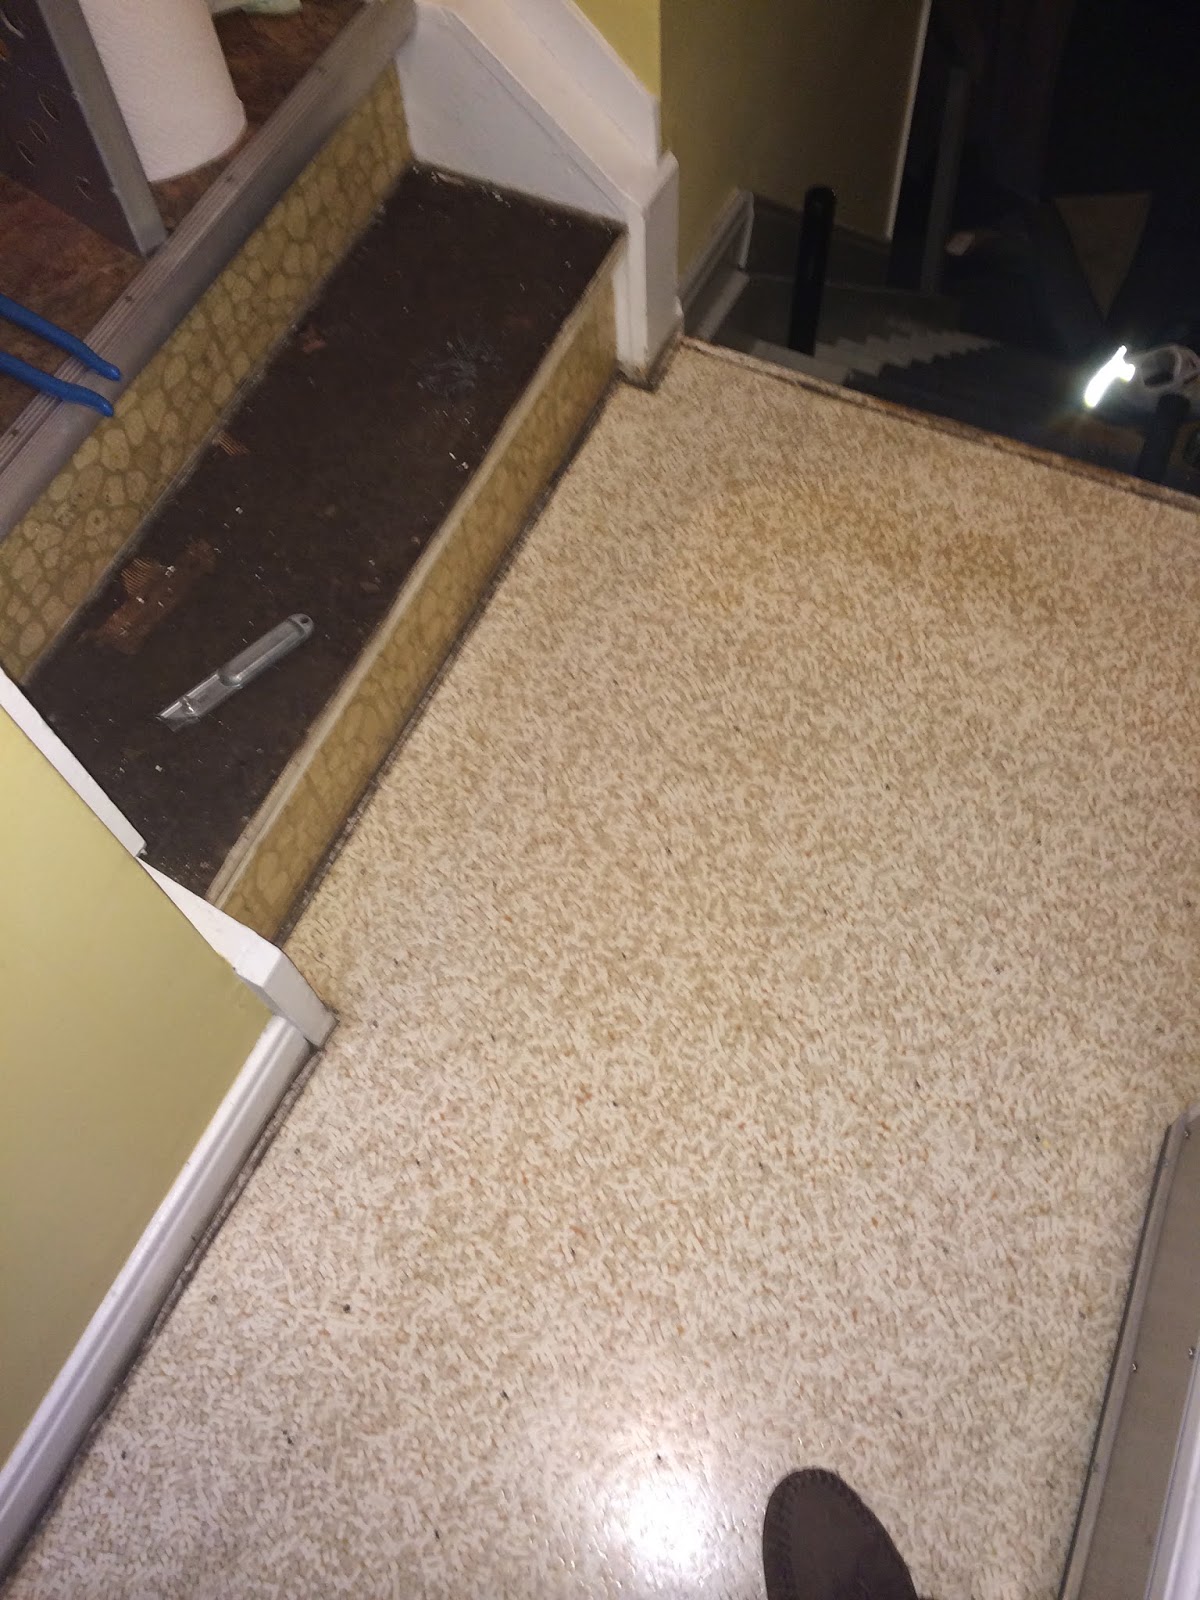
| I secretly kinda like this floor. Ok, it's not such a secret. Too bad it's filled with staple holes! |
 |
| Oh yeah. There's another layer under there. And it's probably filled with asbestos. Sigh. |
 |
I don't have any amazing "After" pictures, and I'm not giving you a sneak peek just yet into my kitchen plans.
Deal with it-there will be plenty to see in March, and I can't wait!!


