Showing posts with label Pinterest. Show all posts

Thursday, January 9, 2014

I'm a Recipe Thief.

I made a delish dish for dinner tonight, and couldn't wait to share it with you.  I feel like my Facebook news feed and Pinterest home page have been inundated the past week with recipes that yell HEALTHY and LOW-CARB and GLUTEN FREE and SO GOOD.  I might as well jump on the bandwagon too, right?

Are you ready for it?  Yes?

Spaghetti Squash with caramelized onions and cheese in a browned butter sauce.  

I didn't make this dish with the intention of trying to be any of the yelly things above (well, except for the SO GOOD one).  I just thought it looked tasty.  I'm also going to admit right here and now that I stole this from Rachael Ray.  Sorry Rach, I tweaked it a bit.  RR drrroooooowwwwned this recipe in browned butter and cheese.  No need for that- a few tablespoons is enough.  In true RR fashion, though, this recipe has some EVOO, a pinch of salt thrown over the shoulder, and is YUM-O.  The caramelized onions were my idea, too.  What dish isn't made better by them??

Now, when RR made this dish, I only walked through the living room and back while the tv was on, so I didn't catch the whole recipe.  Oh well, I made up my own measurements for the dish.  Feel free to do the same- I'm not a big fan of measuring when I cook.

Here's what you'll need:

1 spaghetti squash (try to get a big one)  That's what she said.  God, I couldn't resist that one...too easy.
15 or so fresh sage leaves
2 Tbsp butter
2 Tbsp olive oil
1 onion
A handful of either shredded or shaved parmesan cheese (or any hard cheese that you like!)
A few pinches of salt
A few pinches of pepper
A few pinches of nutmeg
Extra olive oil for drizzling

Here's what you'll do:

Preheat your oven to 350 degrees.  While the oven is heating up, slice your spaghetti squash in half the long way and scoop out the seeds.

Place your squash on a tray cut side up, and drizzle with olive oil.  Sprinkle with salt, pepper, and nutmeg.  Turn the squash over so the cut side is now on the tray.  Pop that tray in the oven, and let it cook for 50-60 minutes.  (I turned a half over at 55 minutes and tried to shred it with a fork.  It began shredding easily, so I took it out of the oven.)

Killing two birds with one stone and cooking some butternut squash (on right) for later.
You only need to pay attention to the spaghetti squash on the left.

For the first thirty minutes while your squash cooks, go drink a glass of wine and read the latest news from TMZ.  Or, go clean the bathroom, paint your toes, or watch the news.  I don't care what you do, just don't stare through the oven window for 30 minutes.  You'll be bored silly.

After your squash has been cooking for a half hour, grab your onion and slice it up.  Cook them down in a pan, and attempt to caramelize them.  Or, you could do what I did and slightly burn the edges because you left your pan on too high while you were paying too much attention to the t.v. in the other room.  Lesson probably not learned, though.  I'll do it again.

Please don't judge my crappy iphone photos for this post.  I was too hungry to
worry about pulling out the camera for artsy fartsy shots.
While your onions are caramelizing, heat your butter and olive oil in a pan over medium heat.  Once your butter has melted, throw your sage leaves into the pan and let them cook for a few minutes.  Pull them out, and let them rest on a paper towel for drainage.

Oh, pretty!


At this point, your squash is probably ready to come out of the oven.  Take it out, and start scraping your fork into the flesh.  It'll come apart in stringy pieces, just like spaghetti.  Could you have even imagined* such a thing would happen??  I know, I was shocked.  

*Yes, the bold, italicized, underline word was necessary.  You and I both know there is someone reading this who is thinking to themselves, "Why is she surprised?  It's called spaghetti squash for a reason".  Le Sigh.  Sarcasm is so much harder to hear in typefont Helvetica than when it comes straight from my mouth.

Shred it, baby.


Ok.  Now that your squash is spaghetti'ed, throw it in a bowl and pour your sage infused browned butter/oil over it.  Mix it up.  Plop your caramelized onions on top, followed by your parmesan cheese.  

You're almost there....remember those sage leaves you left sitting on a paper towel?  They should be crispy enough that you can just crumble them over your bowl.

Well, it may not present as the prettiest dish ever, but it sure tastes good!!

Annnnd you're done.  Take note- if you're eating this for your main course, equate 1 serving as half of the spaghetti squash, meaning the recipe serves 2.  If you're making this as a side dish, the recipe serves 4.

Enjoy!!!  (I did.)

Tuesday, January 7, 2014

Cameras and Foam...a likely combination.

Happy Two Zero One Four, everybody!!  We're a week into the new year, and it's time for more DIY craftiness...I know you missed me.  I missed you, too.

Dave and I went on vacation over the Christmas holiday, and OH, WAS IT GLORIOUS.  No, we didn't do a beach in Waikiki, we didn't see the pyramids in Egypt, and we didn't hop along with the kangaroos in Australia.  We went to Europe, woot woot!!  More specifically, we spent our vacation in Dave's motherland..the Netherlands.  That's right, my 6'2" blue eyed hunk o'man lives up to the bloodlines of his ancestors who proudly stand up to the distinction of being the tallest people in the world.  Man, I got a crick in my neck just by talking to people the whole week!  


Sigh, can I go back?
Such a lovely time.

Before we left for this lovely and relaxing vacation, however, I had some crafting to do.  The night before we left, I began packing.  I am normally the worst suitcase packer ever, and usually attempt to bring my entire wardrobe with me where ever I go.  This time, knowing I'd be hauling my suitcase from plane to train to tram, I tried to downsize.  I managed to limit myself to one normal sized suitcase and a carry-on bag that held my purse, i-pad, a book, our travel documents, and the camera.  

Here's where the DIY comes into play.  When we go on vacation, Dave and I like to bring along the bigger camera that has several lenses.  Bringing along the camera bag, however, adds one more piece to carry.  Ugh.  I've seen various camera bags online that double as purses, and I've also seen some great DIY camera cushion inserts for purses.  Seeing as I had about T-12 hours before departure, buying a camera bag/purse was out of the question.  A camera cushion insert?  Totally doable.

I rifled through my craft closet, hoping to find some thinner foam padding, but alas, no luck.  I did have a thicker hunk of foam, which I figured would work in a pinch.  I also had a nice piece of fabric that I had just used for a small Christmas gift, and wanted to use it up on something cute.  Perfect!

I started off by stealing a few knives from the kitchen- a bread knife and a steak knife.  Feeling uneasy with this project yet?  I also grabbed my sewing scissors, not knowing what would work best on attempting to fillet the foam pad down to a desirable thickness.

I ended up using both the bread knife and the scissors.  It would have been much easier if I had just used a 1" thick foam pad, but beggars can't be choosy at 9:00 at night.  The clock was ticking.  
Wow.  Check out that yellowing action on the edges of that foam.  Classy.


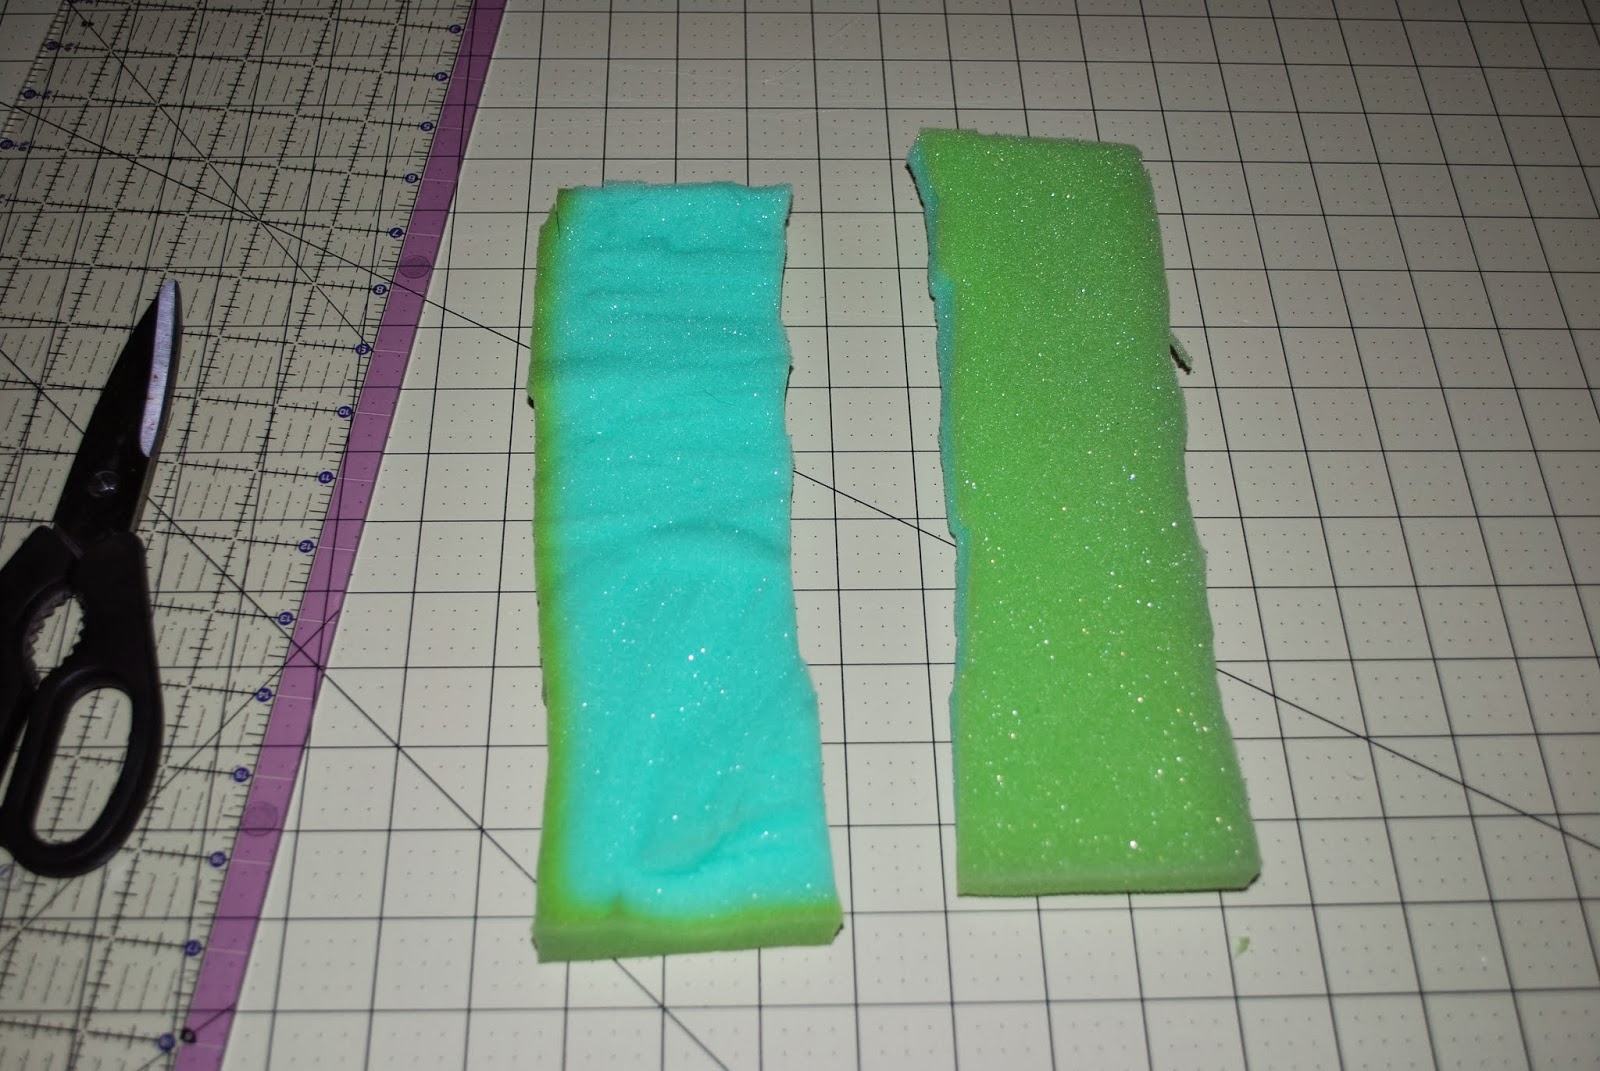
Next, I measured the flat bottom of my purse, and made sure that my large piece of foam was cut to fit this size.  I then cut 4 additional pieces that were a few inches high to make the walls of my foam "box".  


The sides cut to fit the long lengths of the bottom pad.
It doesn't matter that they're not 100% smooth- they're going inside of a fabric sandwich soon.

Next, I cut six pieces of fabric.  I cut two pieces to make sleeves for the long sides, two pieces to make sleeves for the short sides, one piece to make a sleeve for the bottom piece of padding, and a white piece of fabric to hold it all together. 


Isn't that cute fabric??

 For each foam piece, I essentially cut enough fabric as if I was cutting wrapping paper to wrap a present.  I folded the fabric over, sewed two sides, and stuffed the foam in.  I wasn't going for super precision here...it's going to be shut up inside of a purse.  Also, the clock continued to tick, and I needed to finish packing and get to bed!!


Yep, the foam is in there.

After my 5 foam pieces were packed in nice and tight to their fabric homes, I needed to connect them together.  Here's where the white piece of fabric comes into play.  If you notice from the photo with the white fabric above, I cut off the corners to make a small flap on each side.  This flap would be sewn into the open end of each fabric pouch.  A picture's worth 1,000 words, right?  Here's what I ended up with:


All 4 foam side pieces sewn to a flat bottom.

The next picture shows the above picture with the large foam pad sitting on top of it.  This will all make sense in a moment.


Ahh, get it now??

Once inside the purse, the four pieces attached to the white fabric fold upwards to conform to the sides of the purse to make a nice cushioned box for my camera.  
Pretty nifty, no?


Perfect fit.

I bought this purse last year at DSW for $5, no joke.  It's actually a really nice leather purse in a pewterish color, with several inside pockets and a removable cross body strap.  It's too big to carry on a daily basis, but it's great for traveling.  I was able to stuff two passports, lipstick, cell phone, credit cards, a city map, Flat Margot, and some change into the side pockets.  Perfect.

My regulars know who Flat Margot is, but in case you haven't been introduced...


Flat Margot rides a bike along the canals in Amsterdam.

And the camera bag/purse?  Worked perfectly!!  The camera came back in one piece, and it captured some great memories, too.  Like this one.


Always ask someone holding a better camera than yours to take your picture.
They won't mess it up, and they won't try to steal it.
They also won't be able to make your husband smile for a picture.
Like, ever.

Ready for a teaser for the next post?  It includes paint, cigar boxes, and water.  Take your best bet.  I guarantee you're wrong.  Unless you follow me on Pinterest, in which case, you'll probably figure it out.  Happy crafting, kids!!

Saturday, November 2, 2013

Cover Up, Will You?


I haven't done a sewing blog post in awhile, so let's talk about curtains.  I've made the curtains for most of the rooms in my house, not because my windows were oddly sized (which CAN happen in old houses, am I right oldhouselovers?), but because I just couldn't find the fabrics and colors that I wanted.

Anyone who knows anything about home decorating will always tell you to pick your fabrics first, before picking your paint colors. Matching paints to fabrics is SOO much easier than doing things the other way around.  Problem is, when you're moving into a house that sits empty, yet needs new paint on every single paintable surface, chances are you're going to paint first and decorate later. 

SO THANKFUL they left the lace curtains and house phone.
Phew.  Close call to having to buy these gems all over again.


Thankfully, none of the paint colors I picked were so crazy that I couldn't find great fabric to make curtains out of, but it did make it difficult to find pre-made curtains that I liked.  With a little sewing knowhow, you don't have to worry about pre-made curtains, though- just DIY! 

First things first- decide on the length of your curtains.  I really love floor length curtains, so I mostly went with that. Personal preference, though- you decide.  As for curtain height placement- I really prefer to hang long curtains somewhat close to the ceiling.  Hanging the rod a few inches below the ceiling is a pretty good rule of thumb, but again, personal preference.  The higher you hang your curtains, and the longer they flow, the more dramatic the look (as well as the taller your ceilings look!)  It's all a Jedi-mind-trick, people.  Keep in mind to just be consistent with your hanging height between your rooms that flow into each other!

The additional top down/bottom up curtains are a necessity when you have a
dog that thinks all forms of life outside the windows are possible invaders.

As you're deciding your curtain length, you also will need to decide how in the heck you plan on actually hanging these curtains off of the rod.  Will they be hung with grommets, with rings, with loops that keep the rod hidden?  You'll need to decide this before you calculate how much fabric you'll need.  (You'll need more fabric if you decide to go with grommets, by the way). 

Grommets.

Rings.

Hidden backside loops.

 I would also HIGHLY recommend buying some white fabric to back your curtains with.  I know I said it in an earlier post, and I will say it again:  Whether you use the curtains for decoration or for function, they should appear uniform from the outside, no mix of stripes, patterns, and colors should be visible.  Lucky for me, I have a big fabric warehouse in my city that sells curtain backing fabric at ridiculously low prices.  If you're not lucky enough to have one of these places, go to your local Homegoods, Target, or Marshalls.  You should be able to find a cheap white sheet set that'll work just as well, and will be plenty big enough to back your curtains with. 

(See last picture for curtain backing example).

Once all of these HIGHLY IMPORTANT DECISIONS are made, make your calculations and buy that fabric!  It's not as hard as you think, I promise.  You're sewing rectangles.  Really can't get any easier than that. 

Unless.....you decide to throw a wrench in the works and sew Roman shades.  I do not care what Pinterest tells you- do not believe the posts that say, "Oh, Roman shades are soooo easy", or "No Sew Roman Shades".  BULL.  There's a lot of measuring, double measuring, and letmemeasureoncemorejusttobesure going on that really eats up your time.  Plus, no sew curtains?  Bound to look absolutely terrible from outside of your windows.  People can see that shit.  I've now sewn roman shades once, and they turned out great, but they were nowhere near as easy as good old solid floor length drapery panels.  I'll take you through my drapery travails in part 2 of this post, I promise.  This advice column of a post has gone on long enough, wouldn't you agree?

Look at those pleats.  Sends a shiver down your spine, doesn't it?

Perfection comes at a price.  It's called YOUR TIME.

Whatever you choose, just remember:  If you can see other houses from your windows, they can see you, too.  Cover it up, unless you want your neighbors to see you naked.  In that case, by all means, leave your windows unclothed.  I'm sure the creep down the street will appreciate it.