Showing posts with label JoAnn's. Show all posts

Wednesday, December 18, 2013

Lace it up!

Dave's been traveling A LOT for work lately, and while I occupied myself last week with making a quilt, I needed to change it up this week with something different.  I've got another project in the works at the moment for a friend, but as that one is a stop and start work in progress, I took an hour of my time this week to make something for myself. 

I stopped into Old Navy the other night, on the hunt for ear muffs.  Yes, ear muffs.  I'm going to be taking a European holiday soon (holiday sounds so much lovelier than vacation, doesn't it?), and because the weather will be slightly warmer there than at home, I wanted something to keep my ears warm, without mashing my hair down.  Well, forget it on the earmuffs.  They're not my project, and I couldn't find them anywhere.  I went to Target, Kohls, and Old Navy since they're all in the same shopping plaza, and NADA.  Did I miss out on something?  Do people not wear big, fuzzy ear muffs anymore?  I know I could go online and buy some, but the magic has been lost, and the moment has passed.  I'll get by without them.

While in Old Navy, however, I noticed some SUPER SALES! that I couldn't pass up.  Now that I work primarily from home, I don't need to shop for work clothes anymore.  I could, however, stand to treat myself to some cozy sweaters and sweatshirts.  A bunch of the stuff on sale in Old Navy was quite plain looking, but that was fine by me.  I picked up this lovely charcoal gray (or is it grey?  Which spelling do you like better?  I think I like the "a" version) sweatshirt for $10.  Done.  I also got a velour sweatshirt for $8.  I don't care if velour was sooo 2001, I'm wearing it.  It's soft, and I'm in my house.

Whoops-forgot to take a before shot.  That's alright- Old Navy's website has you paying
$2.50 more than in the store.  SCORE.


Last month, I was at the mall and had been browsing through J. Crew, and they had two sweatshirts that had been embellished there, with price tags of $168.  FOR A SWEATSHIRT.  I do realize that this sweatshirt had been "hand sewn" in a design that was "hand drawn" by the J. Crew designers, but come on.  Not happening for this girl.  I can "hand sew" and "hand draw", too. 

Hey, it's 30% off right now if you want to pay $120!

So, I kept this "embellished sweatshirt" idea in the back of my head, and waited for the perfect opportunity to present itself.  That moment has arrived.  I did some research after bringing home my $10 purchase, and decided that rather than sparkly jewels, I wanted a sweatshirt with lace.  Being practical and all, a sweatshirt with jewels is going to:

A.  Be annoying to wash
B.  Leave imprints on your face should you happen to nap on your arm, as one is wont to do while wearing a sweatshirt.
C.  Have a limited wear time during the holidays as a "jazzy shirt"
D.  Have the propensity to turn into a sweatshirt worn at a 2016 Ugly Christmas Sweater Party

All of these things convinced me that embellishing with lace was the way to go.  Also, I have a bunch of lace in my Craft Closet already (yes, that requires capitalization, although I would like to strike out Closet and replace with Room.  One can dream.), and I do not have a bunch of loose baubly gems sitting around.  For this project, I was looking to be crafty and creative without spending any extra money.  Here's some of what I found when I looked up "Sweatshirts with lace":


I took that inspiration, my scraps of lace, and took three pictures that I sent to my mom for voting.  The first picture's inspiration came from the top middle picture in the screenshot above.  The second was just because that was the only strip of that lace I had, and it fit perfectly in the space, and the third was based mainly on the bottom middle picture in the screenshot.

ONE

TWO

THREE


Which one did you vote for?  I texted these pictures to my mom- she voted for number 2.  So did I.  (For full disclosure, I was sitting on my couch while playing around with what lace to use, and didn't even look at the pictures I was taking.  I literally held my phone up above my head and hit the button.  Not bad, right?)

Here was the quick and easy process to Embellished Sweatshirt 2013 completion:

I had some extra iron on transfer paper from previous projects, and cut some tiny pieces of it to fit on the back of the larger, solid pieces of lace.  I didn't cut a whole ribbon to match the size of the lace piece, because you would have been able to see the sticky stuff through the gaps in the lace.


Cutting the iron on pieces.

Can you see the iron on pieces?  They're there- I promise!!


Next, I ironed the lace onto the sweatshirt to keep it stable for sewing.

Then, I grabbed some off-white thread and a needle, and proceeded to sew some quick knots just along the outer edges of the lace.  If I didn't do this, I'm sure that the lace would pop right off during the first wash/dry cycle. 


Small stitches and knots.

I did this while sitting in front of the t.v., so I wasn't really paying attention to how long it took me.  I really only sewed and knotted on the commercials, so the process was drawn out over an hour.  Rest assured, if you want to do something similar and you're actually going to concentrate on getting it done, it won't take you anywhere near that long. 


I'd dare you to find my stitches, but that would be unfair.  They're invisible.

If you're wondering where I got the beautiful lace, and you're thinking that you haven't seen anything like that in your local JoAnn's, you're right.  You're not going to find it there.  Last year, I made a bunch of scarves with a mix of jersey fabric and pretty lace.   This is what's left.  I got the lace at Haberman's Fabrics.  If it's possible to be in love with a fabric store, Haberman's will do it for you.  They don't carry your run of the mill everyday fabrics.  They carry gorgeous, run your hands over it, feast your eyes on it, sigh when you look at the price tag type of fabric.  But anything you get there is OH SO WORTH IT.  Which is why I went home with a bunch of imported Italian lace last year, and cried when I went back for more, and it was gone.  Sigh.

Now, though, I'll get to wear that beautiful Italian lace with my comfy sweatshirt.  It adds just the right amount of pizzazz to an otherwise lackluster top. 

I apologize for not posting a picture of me wearing the sweatshirt, but I don't do selfies.
Picture it with a dark pair of skinny jeans, brown boots, and a cross body emerald color purse. 
'Cause that's how I'm rockin' it.

So, please don't be offended if I stick my chest out at you the next time I'm wearing it and ask you to admire my shirt.  I'm really asking you to look at the shirt, and only the shirt.  I swear.

Saturday, December 14, 2013

Do the Jelly Roll.


It's been pretty cold outside the past week or so, hasn't it?  And when it's cold outside, what do you want to do?  If your answer was, Snuggle under a blanket on the couch while watching movies and eating treats!, then we are are on the same wavelength, and you can keep reading this post.  If your answer was anything besides the above, well, I'm not sure what to say to you...maybe you're in the wrong place right now?

For me, cold weather coupled with a traveling husband gave me a lightbulb moment.  I needed a new couch quilt, and what better time to get started?  It's dark before dinner time, I'm definitely not venturing out to the gym, Dave's not around to entertain me, and there's only so much HGTV and Pinterest one can browse through without getting itchy to try something new.  

I currently have 2 couch blankets:  one that is double sided fleece and is about 6'x7' that I made last year, and an off-white small quilt that I bought about 8 years ago from Homegoods for probably $20.   The fleece blanket has technically been termed as Margot's blanket, because this is the blanket that she is commanded to chew any bones on so they don't get slimy bone bits on the couch...gross.  While she may be stubborn and not pay attention to some commands, Margot fully understands and obeys every yell of, "ON THE BLANKET!"  when she gets a new bone.  I think she knows that she won't be getting any more doggie crack unless she obeys this particular command.  Since it's made from cheap fleece from JoAnn's, I really could care less if she chews holes in it, or how pilled it gets from consistent washing to keep it nice and fluffy clean. 

The other couch blanket is usually folded on the back of the couch, and gets used on cold mornings when either Dave, Margot, or I are currently using the fleece blanket.  I like this small quilt, but over the years, Margot somehow (and stealthily) managed to fray/chew some of the edges of it, most likely while still in puppy mode.  It's looked pretty frayed for awhile, but it looks fine when folded on the couch, so no one's the wiser when they visit.  Until now, when I just showed the world.  My secret is finally out, what a rush.  Whew.

Oh, it's not supposed to be that way?


All that blabbering, let's move on to the actual project, shall we?  I know I just did a sewing post, but suck it up and deal with another one.  Or stop reading now.  Your choice.   That's what happens when it's cold and I don't feel like getting out the tools to start a project.  AND, I did just drill holes in my siding to hang Christmas lights and swag, so that counts, right? Wow, I'm kind of feisty today, aren't I?  Sorry about that. 

Let's all just calm down and get in the holiday spirit.

Earlier this year, I pinned this website and set of directions on how to make a jelly roll quilt.  It seemed like a simpler way to ease myself into quilting...


http://www.heirloomcreations.net/sewing-tips/the-jelly-roll-1600/

A jelly roll is a package of 40 or so strips of fabric that measure 2.5"x42".  It can be a pack of one consistent fabric, or a mixture of many coordinating fabrics.  I looked online and at the fabric store, but didn't find anything I want (and they are kind of pricy!!), so I decided to make my own.  I ended up buying about 6.5 yards of fabric for this project, and cut all of it into 2.5' strips.  That took me about an hour.  Don't do this unless you have a cutting mat and cutting roller blade.  Side note:  Fill up 3-4 bobbins ahead of time with the thread you're using- you'll go through them all, and it's nice to have them ready to go.  Buy some Aurifil thread, too.  You'll burn through a regular spool of thread in 5 seconds flat.

Cut that fabric!

Jelly roll strips all done.

I pretty much followed the directions from this website, with a few looky-loo cheats from some youtube tutorials in between for things that weren't quite clear to me.  I've never made a quilt before, so I wasn't quite up on all the quilt lingo.  Not quite up on the quilt lingo?  I'm such a nerd...

First, I sewed all 40 of my jelly roll strips together to create 1600 inches of fabric.  That's a LOOOOOOONG piece of fabric.  You better have some patience if you attempt this, because it's going to get all twisted as soon as you try to lay it out flat.  I watched this 6 minute youtube clip on how to sew the strips flat, but so that the seams have a 45 degree angle to them.  This was super helpful for several steps of the process:


Apparently sewing by candlelight is all the rage.

You're going to end up with quite the pile of jelly roll pieces.
And then you'll be hungry for toast and jelly.

After sewing my strips together and untangling them, I folded the strip once so that the right sides were facing each other, and I sewed a 1/4"seam on one side.  WAIT...before I did this, I followed the directions from the website and cut off about 18" from one end of the long strip so that I wouldn't have any seams matching up.  Don't forget to do this, it's super important!!

Once your strips are sewn together, you need to cut the edges  about 1/2" from the seam and press.

Yeah, have fun untangling that 1600" strip of fabric.
And ignore that empty plant stand sitting awkwardly in the kitchen.
I kill plants.
Sew that seam.  And keep sewing.  And keep sewing some more.
Oh wait, you're not done.  Keep going.

After sewing an 800" seam, which took foooorrrreeeevvverrrr, I cut off the folded end of the fabric, and pressed the seam down flat.

Got that?

I then folded the fabric again, and repeated this process 4 more times.  Each time you fold, sew, snip the folded end, and press the seam, you are creating a shorter width and longer length quilt face.

Sew and press, sew and press.
After finishing this whole process, I punished myself by starting ALL OVER AGAIN to have a similar quilt face for the back of my quilt.  Common sense would have told me to just piece together some larger pieces of fabric to create a quilt backing, but I wanted a fully reversible quilt, since this was going to be used on the couch, and not on a bed.  

Back of quilt.

Front of quilt

When I found the green and yellow chevron pattern, I bought 4.5 yards of it (because that's what was left on the bolt), and then bought 2 yards of the yellow block fabric.  I only used these two patterns because I wanted my quilt to have a more modern and less "quilty" look that I knew would happen if I used a bunch of different fabrics.  

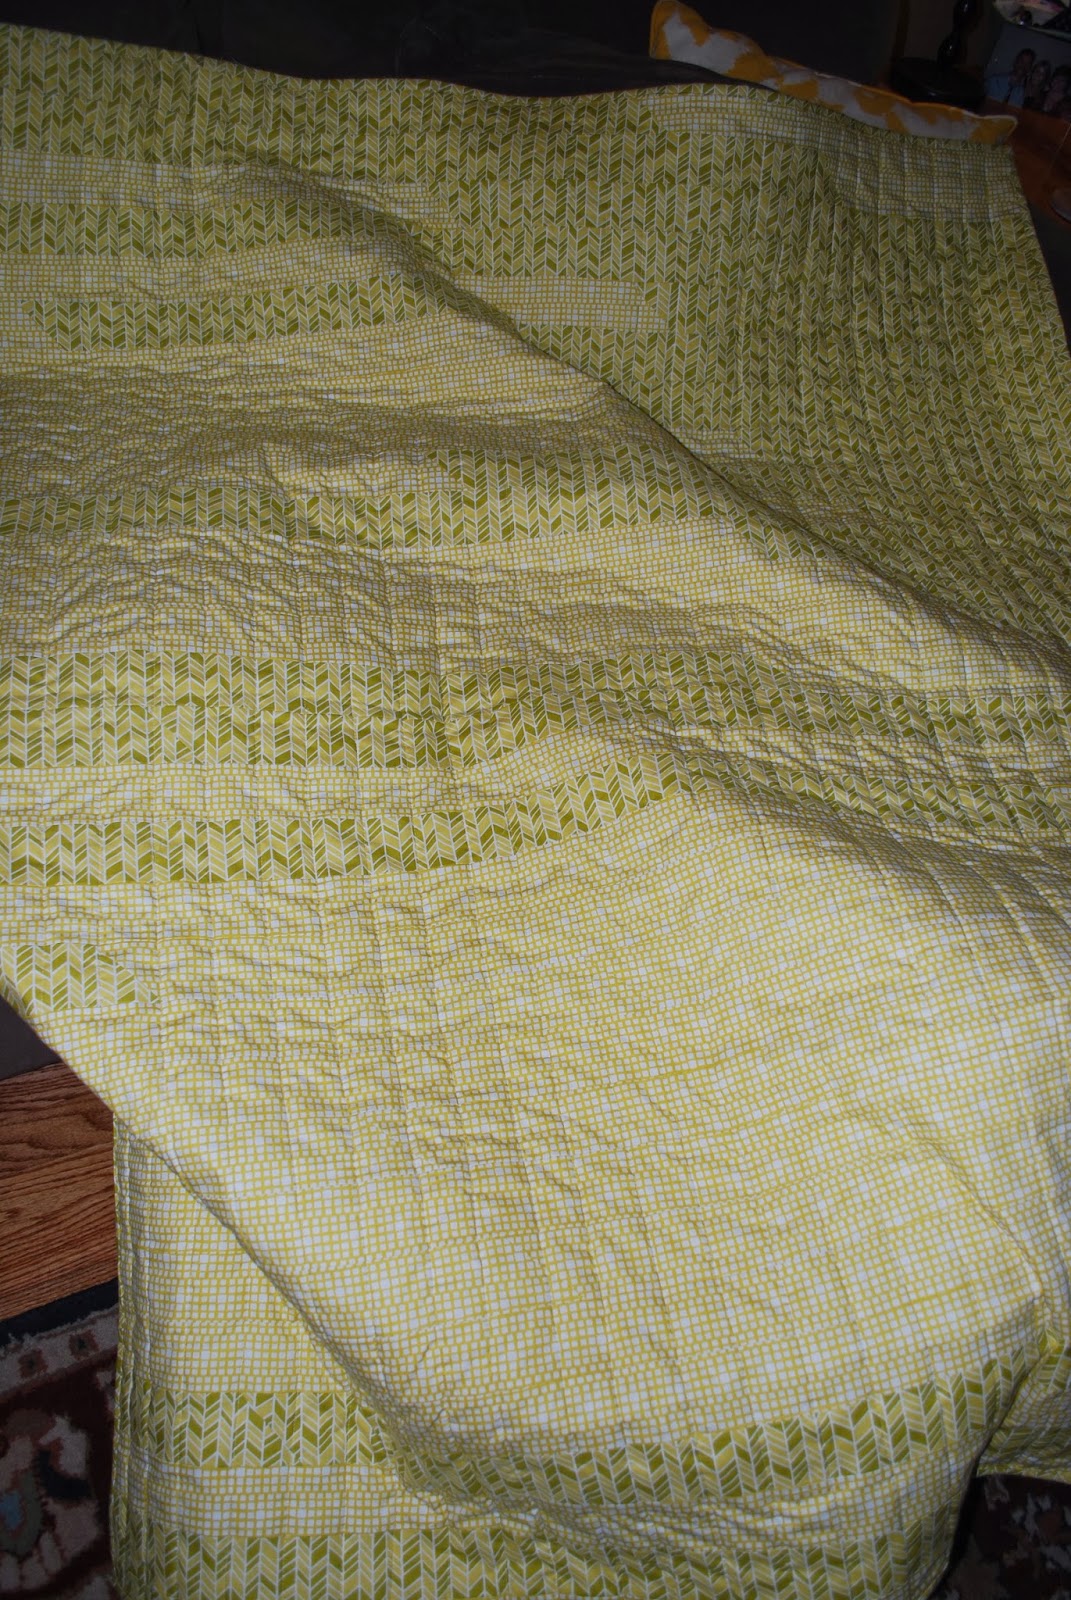
The front of my quilt uses primarily the chevron fabric with some yellow block fabric thrown in randomly, and the back is the exact opposite.  The sewing and ironing process probably took me about 8 hours total (for both sides of the quilt).  

I then sandwiched the two quilt pieces right side out with cotton batting in between, and I pinned the heck out of it to keep it stable.  Next came the quilting process.  I measured the center of the fabric, and I grabbed some painters tape that was 1.5" wide (it was the widest tape I had on hand), and ran the tape down the middle of the quilt.  I then sewed straight, vertical lines down my quilt, measuring and taping with every pass through in order to keep my lines even.  I'm not ready for swirly quilting yet.  Straight lines are about all I can handle right now.  This process probably took me about 3 hours total.  If you calculate that out, it works out to about 5 minutes per quilted line, which isn't bad, considering there are 32 quilted lines, and each required measuring and taping.  

Sandwiched and pinned.  With a side of Stab Yourself Multiple Times.


Pretty self explanatory, yes?


After the quilting was done, I needed to bind the rough edges.  If you already watched the youtube video above, then I don't need to explain to you how I did this.  If you didn't, do it now.  It'll take me too long to write it out, when the video does a fabulous job already.  If it ain't broke, don't fix it.  

I used a strip of just the chevron fabric to make my binding, followed the directions, and presto!  This step took about an hour from start to finish.

Pass-through #1.

Pass through #2...the final step.

With that, my first quilt was done.  I love it, it's beautiful, and Margot WILL be trained that this "blanket" is NOT an acceptable bone chewing blanket.  Poor creature, I'm going to seriously confuse her with my, "This, not That" directions.  

One side.

Finally ready for its closeup.

Flip side.

Wow, look at those bound edges.  Fancy.


So.  Lessons learned from this project:

1.  Sewing a quilt takes a Very. Long. Time.

2.  Once you're done, you may lose it if anyone handles your quilt with anything other than kid gloves.

3. If you're lucky enough to have someone make you a quilt, treasure it forever.  The quilt maker probably went partially blind from doing such precise sewing.

4.  If you ever go to a craft fair, etc, and see a handmade quilt with a several hundred dollar price tag, don't EVER comment that it costs too much.  With the amount of labor that goes into a quilt, there should be $1,000 price tags on all of them.  

ALL OF THEM.


Monday, November 25, 2013

State of the Art

The other day, my friend Natalia posted a picture on her Facebook account of a lovely and whimsical drawing of her home state of Massachusetts.  Natalia has lived in various nooks and crannies all over the world, and her creativity and love of eclectic pieces are always inspirational.  When Natalia posts pictures, you pay attention.  There's usually something artistic, beautiful, inspiring, or just happy about her images. 

I saw the drawing, and as usual, my creative juices started flowing.  The normal first thoughts to pop into my head were:


1. I can do that.
2.  Do I already have some of the supplies needed for this project? Pretty sure I do.
3.  What else is on my agenda for the day that I can scrap in favor of fun projects?

I rifled through my craft closet and found my sketch pad, but still needed to make a trip to the craft store.  Off to JoAnn's I went, with coupons in hand!  I bought a 4 pack of drawing pens with various thicknesses, as well as a mat-less, see-through frame.  I had several 40% and 50% off coupons that I was allowed to use, and the frames were already at 50% off.  JoAnn's was even having a "secret" sale yesterday- anyone with a Teacher Discount Card was given 30% off of their total purchase as opposed to the usual 15%.  SCORE.  The sales girl whispered this discount addition to me as she rang me out so as not to alert and anger the hordes of other shoppers in line who were unlucky enough not to possess such a plethora of discount gold. Only suckers pay full price at JoAnn's.  I laugh with glee at you.


Here's the materials I ended up needing to complete this project:
1 9x12 drawing sketchpad (I used an 80 lb. weight medium thickness paper)  
1 pack of drawing felt tipped pens (I had various thicknesses from 01 to 08)
1 bright light
1 Clear Rubbermaid container or file bin with a piece of glass on top
1 Printout of state outline
1 11x14 frame

Step 1: Gather those supplies, and fan them out on a pretty carpet.

First things first- I needed to make a light box for tracing my image.  It's difficult to trace images when using higher weight drawing paper unless it's illuminated from below.  I used a hanging spotlight that I keep in the basement for this project.  A small lamp would work just as well.  I put the light inside of the file bin, put a piece of glass on top, and presto...my homemade light box was done.


Classy, I know.

Next, I used my printout of the lovely state of Michigan and put my drawing paper on top.  I used the thickest drawing pen (08) to trace the outline of the state.  


Outline of Michigan.


Beginning to trace the lines.  Kindergarten skills at their finest.


Tracing complete.  We're already halfway there!

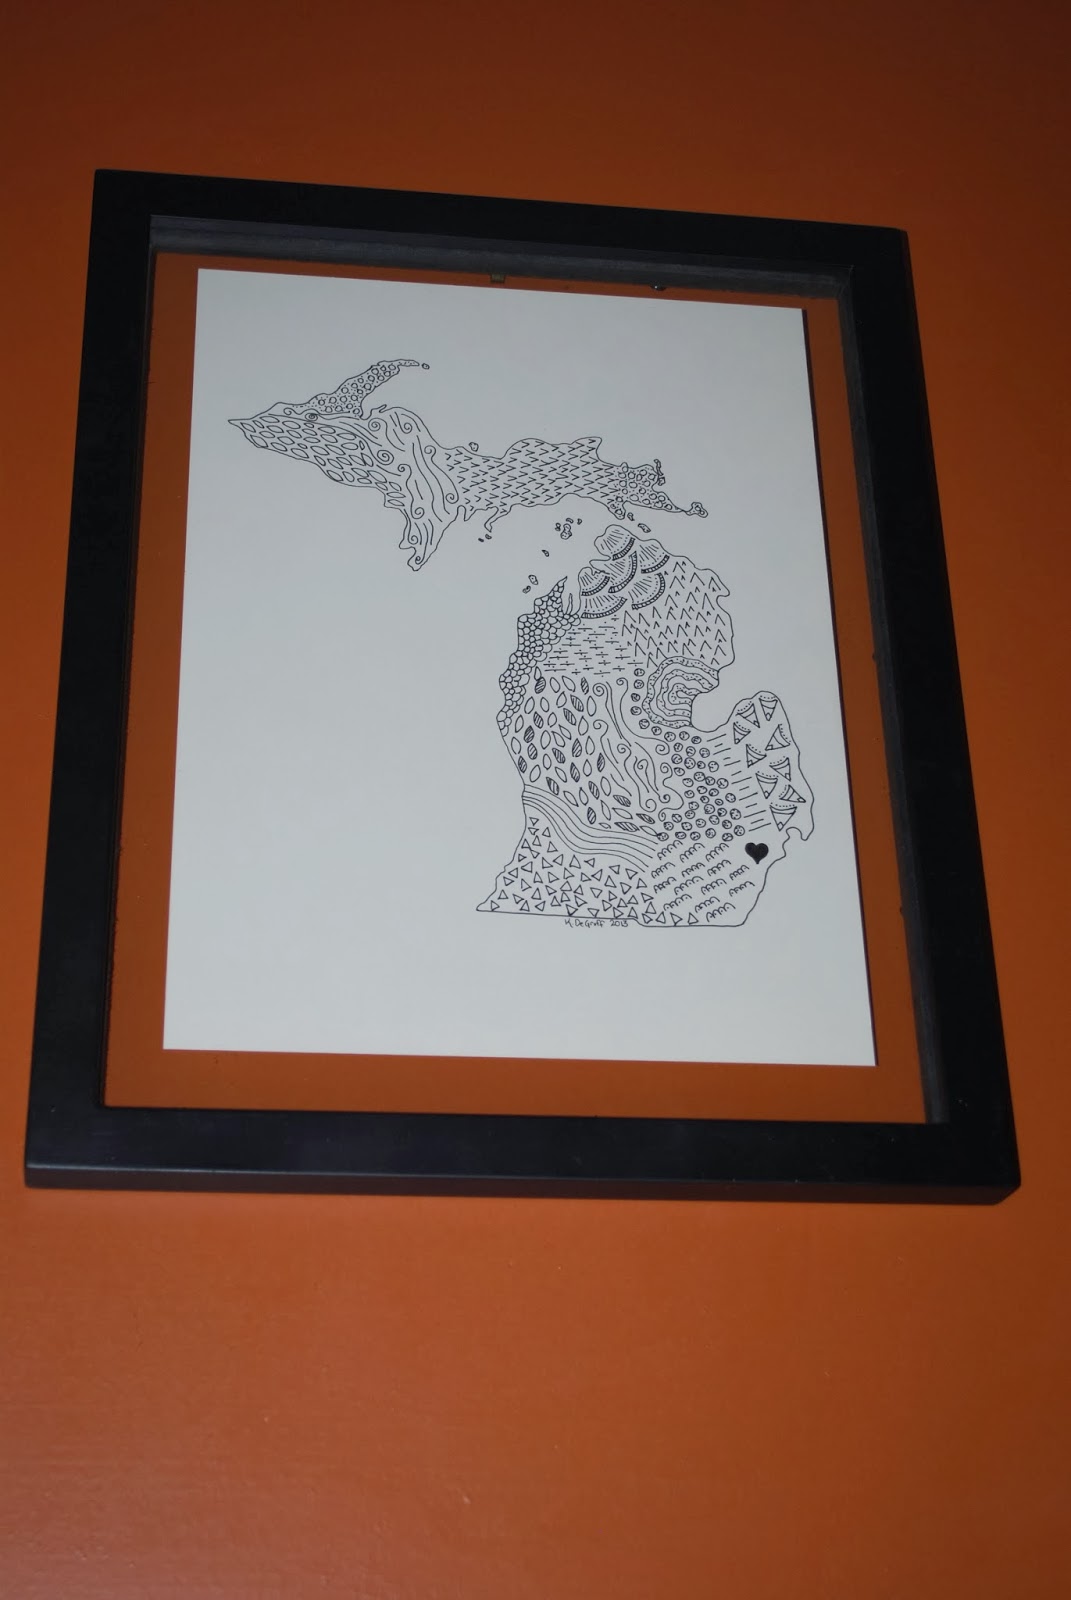
After that, I plopped my behind on the couch to watch t.v. and got creative.  I free-handed swirls, shapes, and patterns inside of the border of the state.  I also drew a heart over my general location to add a little personalization. 


It's getting there!


Ooh, fancy.

When I was done, I popped the drawing into a mat-less, see-through frame, and my masterpiece was done.  How easy and cute is this?? 

Done.  Contemplating tearing around the edges
of the drawing for a more organic look.


Super cute, right??  The paper itself is actually off-white, so in real life, it doesn't look quite so, "I drew a pretty picture on printer paper and stuck it in a frame".

Thanks for the inspiration, Natalia!